
Last updated September 20, 2026
Full 25-point door and opener safety check with every visit - springs, cables, rollers, tracks, and your LiftMaster or Chamberlain opener included
You get a price before we start. It does not change when the truck arrives.

 Before
 After
After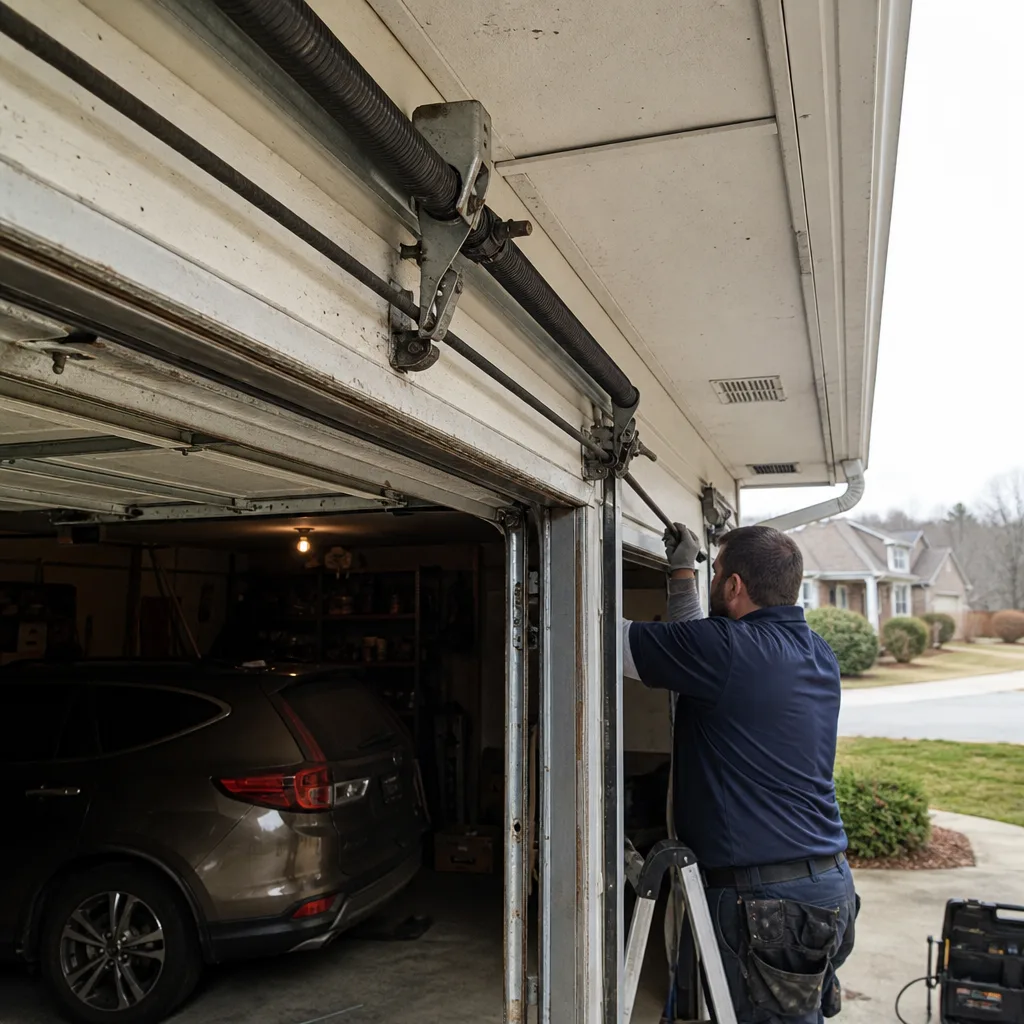 Before
 After
After Before
 After
AfterGarage Door Repair Maintenance Checklist for Douglasville Homeowners
A lubricated chain and a balanced door are the two maintenance tasks that delay roughly 80% of mid-cycle failures, yet most printed checklists bury both under twelve steps that accomplish nothing structural. What Douglasville homeowners actually need is not a longer list. It’s a list that tells you what each finding means. This guide pairs every inspection point with a specific failure threshold, so you know whether to monitor, schedule service, or stop using the door entirely. We’ve maintained and repaired doors across Douglas County since 2015, and the failures we see follow patterns tied directly to our humidity, our soil, and the way garage doors get used in this climate.
Quick Answer
A garage door maintenance checklist for Douglasville should prioritize five items monthly: the manual balance test, chain or belt tension, roller condition, torsion spring coil inspection from a safe distance, and bottom seal integrity against our humid, insect-heavy environment. If the door fails the three-second balance test or the torsion spring shows visible coil gaps wider than a credit card, stop using the door and schedule same-week professional service. Everything else is secondary.
Table of Contents
- The Three-Second Manual Balance Test (and What Failure Means)
- Lubrication for Douglasville’s Humidity: What to Use, What Never to Touch
- Torsion Spring Inspection: Reading Coil Gaps Without Touching the Spring
- Roller and Hinge Wear: The Parts That Fail Quietly
- Cable and Drum Inspection: What Fraying Looks Like Before It Breaks
- Bottom Seal and Weatherstrip: Douglasville Pests, Moisture, and the Gap That Invites Both
- Opener Safety Systems: Photo Eyes, Force Settings, and the Two-by-Four Test
- Documentation Discipline: Date-Stamped Photos and Degradation Tracking
BeforeAfterThe Three-Second Manual Balance Test (and What Failure Means)
The balance test is the single most important diagnostic a Douglasville homeowner can perform, and it takes less time than reading this paragraph. Here’s the procedure: with the door closed, pull the red emergency release handle hanging from the opener rail. This disconnects the door from the opener carriage. Now lift the door manually to waist height, roughly three feet off the ground, and let go. A properly balanced door stays put where you released it. It may drift an inch or two, but no more than that. A door that drops toward the floor or rises toward the ceiling is telling you something specific about its springs.
Here’s what the results mean:
- Door stays within one to two inches of release point: Spring tension is correct. Reconnect the opener by pulling the release handle toward the door and running the opener until it re-engages.
- Door drops more than three inches or falls to the floor: The torsion spring has lost tension, typically because it’s nearing replacement age or was set incorrectly. The opener motor is now doing work the spring should be doing. Running the door in this condition accelerates opener failure, because the motor is lifting dead weight.
- Door rises on its own: The spring is over-wound, which means the opener is fighting the door on the way down. This condition also shortens opener life and can make cable jumps more likely.
- Door lifts smoothly to about three feet, then gets suddenly heavy: This pattern often means a jackshaft or extension spring has become detached on one side, or a cable has slipped its drum groove.
If the door fails the balance test by more than three inches, schedule same-week service. A door this far out of balance is placing strain on every hinge, cable, and the opener’s gear train. In our experience across Douglasville, the most common balance-test failure we find is a torsion spring that has broken on one side and been reset improperly by a previous repair, leaving the door balanced at the floor but nowhere else. The three-inch threshold is not arbitrary: it’s the point at which the opener’s force settings must compensate enough to create measurable wear.
Lubrication for Douglasville’s Humidity: What to Use, What Never to Touch
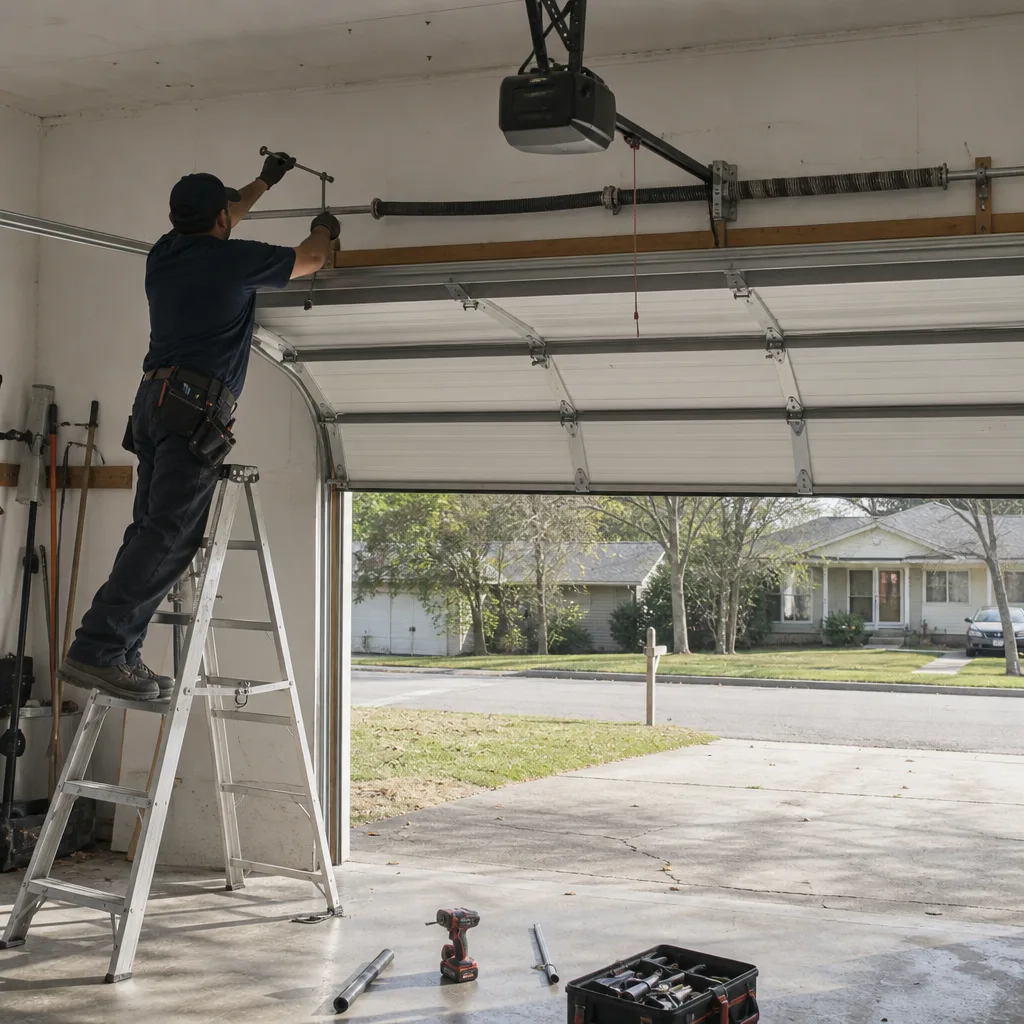
Douglasville sits in a humid subtropical climate zone. Our summer dew points routinely above 70 degrees mean metal parts rust faster here than in drier regions, and the lubricant you choose either accelerates or slows that process. The most common lubrication mistake we see in Douglasville garages is WD-40 on rollers and hinges. WD-40 is a water displacer and light solvent, not a lubricant. It strips away whatever grease was present and leaves bare metal exposed to our humidity. Within weeks, the hinge squeaks worse than before.
Here is the lubrication protocol that holds up in our climate:
- Roller bearings: Use a spray white lithium grease or a silicone-based garage door lubricant. If your rollers have nylon wheels, the lubricant goes into the bearing at the center, not on the wheel itself. Spray the bearing joint where the roller stem meets the wheel housing.
- Hinges: Same spray lithium grease. Apply to the pivot pins where the hinge halves rotate. One short spray per pin is enough. Wipe excess with a rag; excess lubricant attracts dust and turns into paste.
- Torsion spring: Spray white lithium grease along the coils while the door is closed. The goal is to coat the coil surface so the coils slide against each other as the spring winds and unwinds. A dry torsion spring develops friction heat that shortens its cycle life.
- Bearing plates and end bearings: A heavier NLGI Grade 2 grease works here. Grade 2 refers to the grease’s stiffness rating. It stays in place on end bearing plates rather than running off in summer heat. Apply a small amount with a fingertip or brush.
- Chain: If your opener uses a chain drive, white lithium or a chain-specific lubricant applies to the top run of the chain. Do not lubricate a belt. Belts are designed to run dry.
- Track: Do not lubricate the vertical or horizontal tracks. The rollers bear against the track surface, and a lubricated track causes the roller to slide instead of roll, which visibly flat-spots nylon wheels. If a track looks dirty, wipe it with a dry rag.
What we’ve seen in Douglasville garages is that lubrication errors compound. A homeowner lubricates the track instead of the bearing, the roller slides, the door chatters, the hinges work loose, and within a season the door needs repair that proper lubrication would have prevented. The difference between WD-40 and NLGI Grade 2 grease is the difference between re-lubricating every month and re-lubricating twice a year.
Torsion Spring Inspection: Reading Coil Gaps Without Touching the Spring
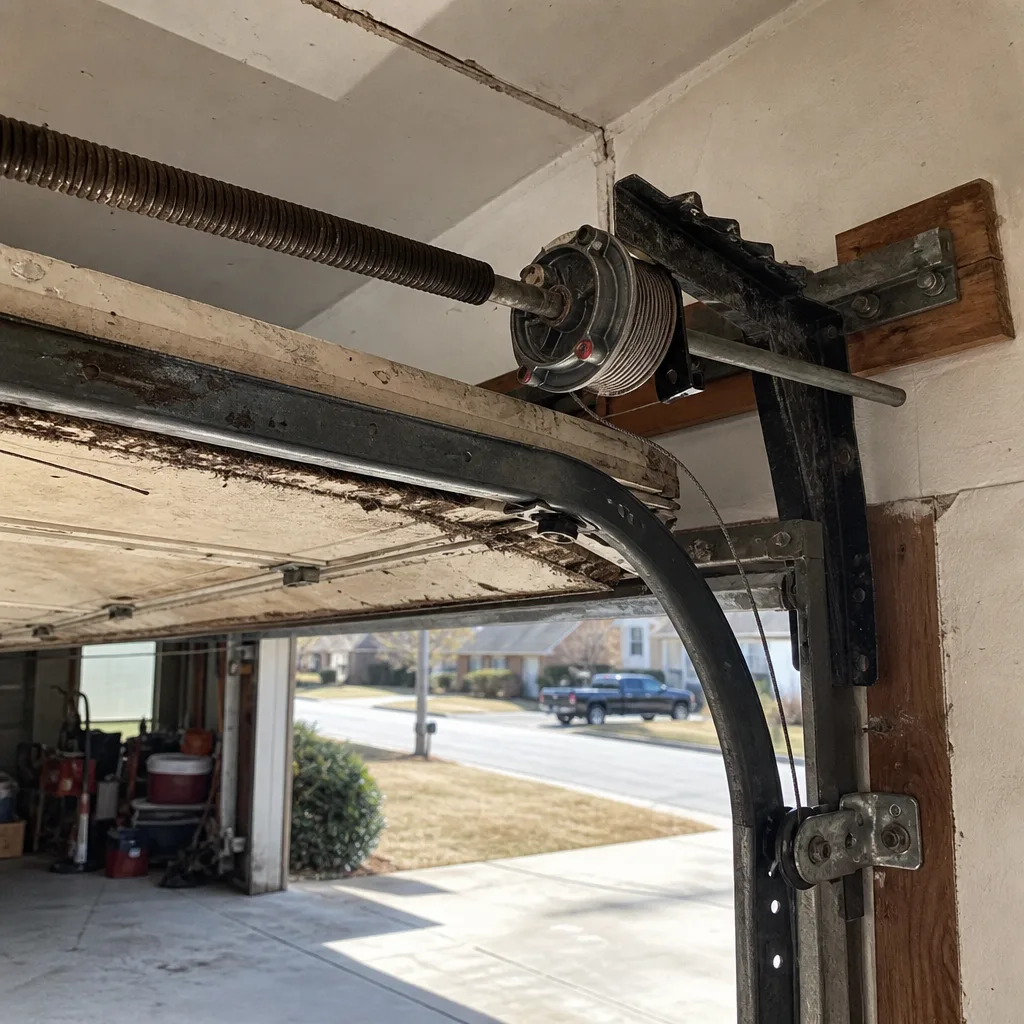
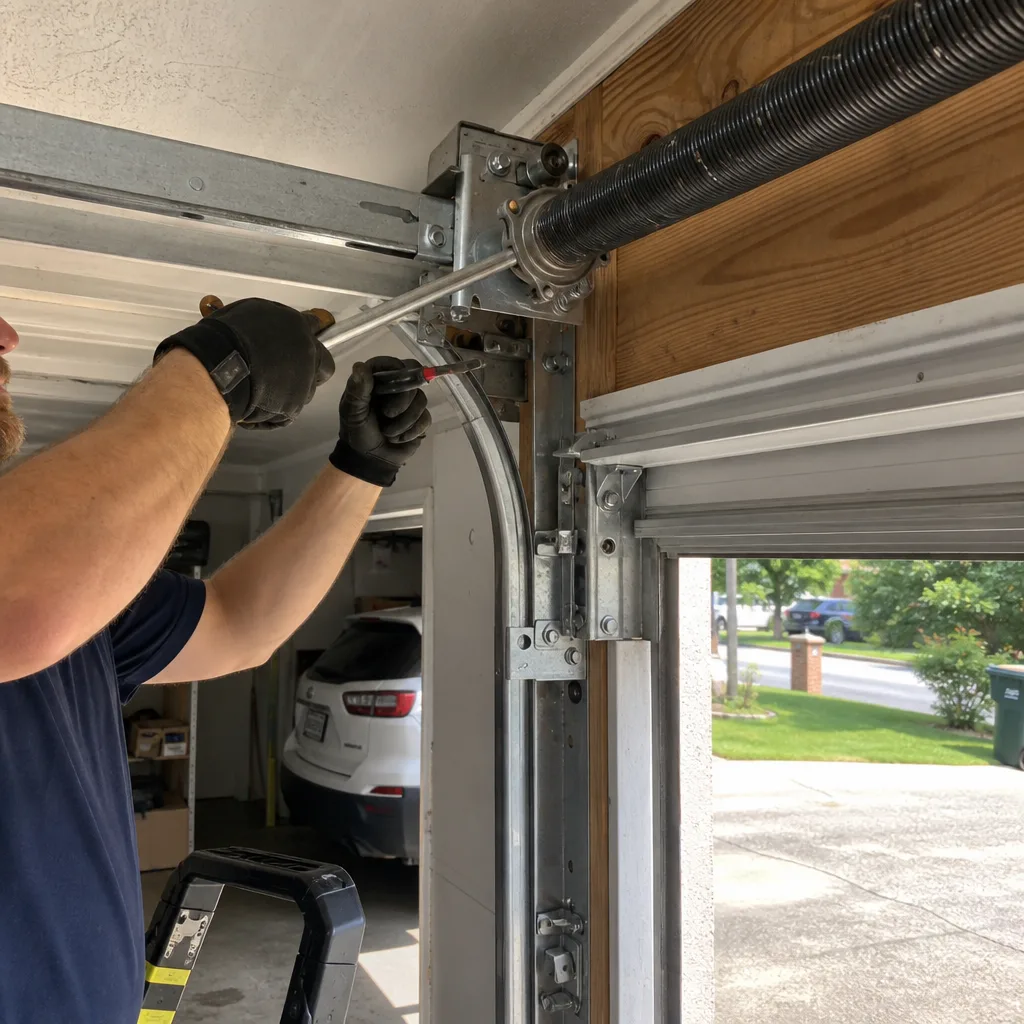
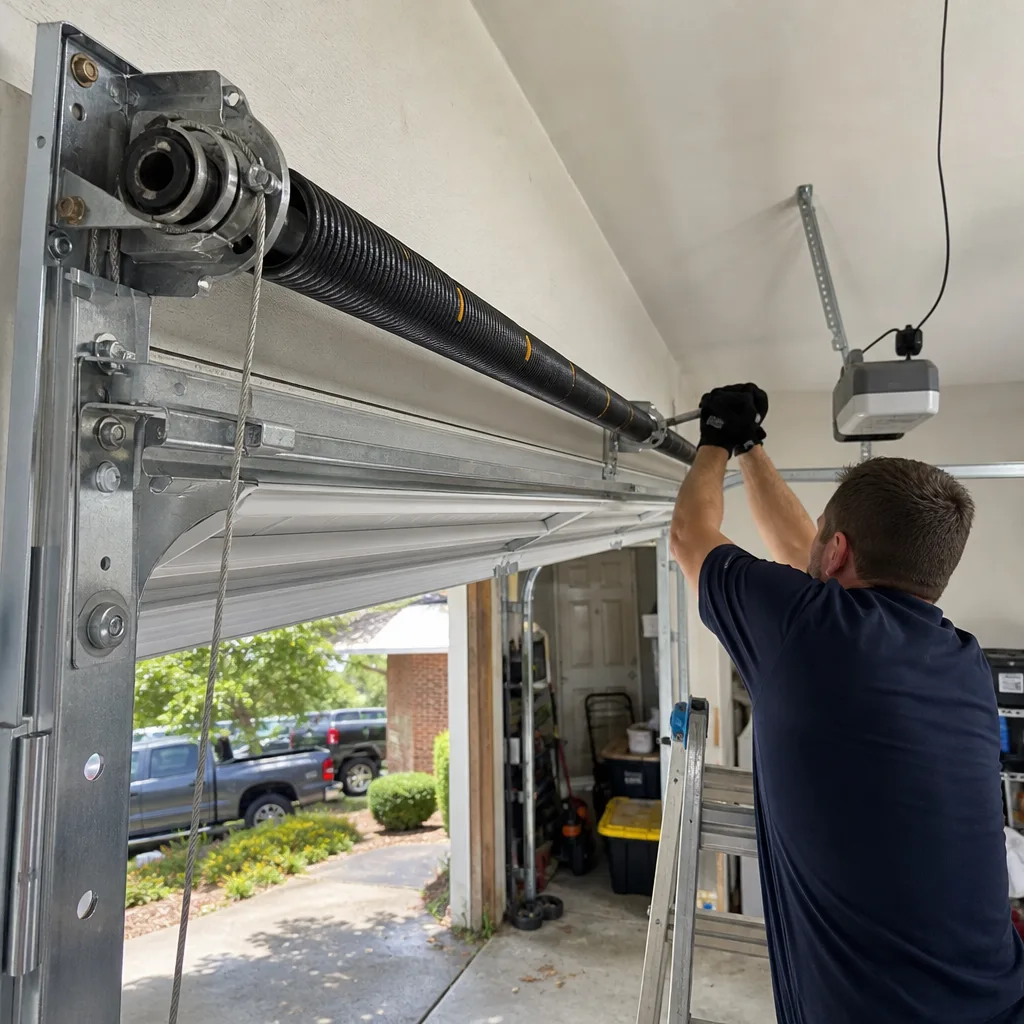
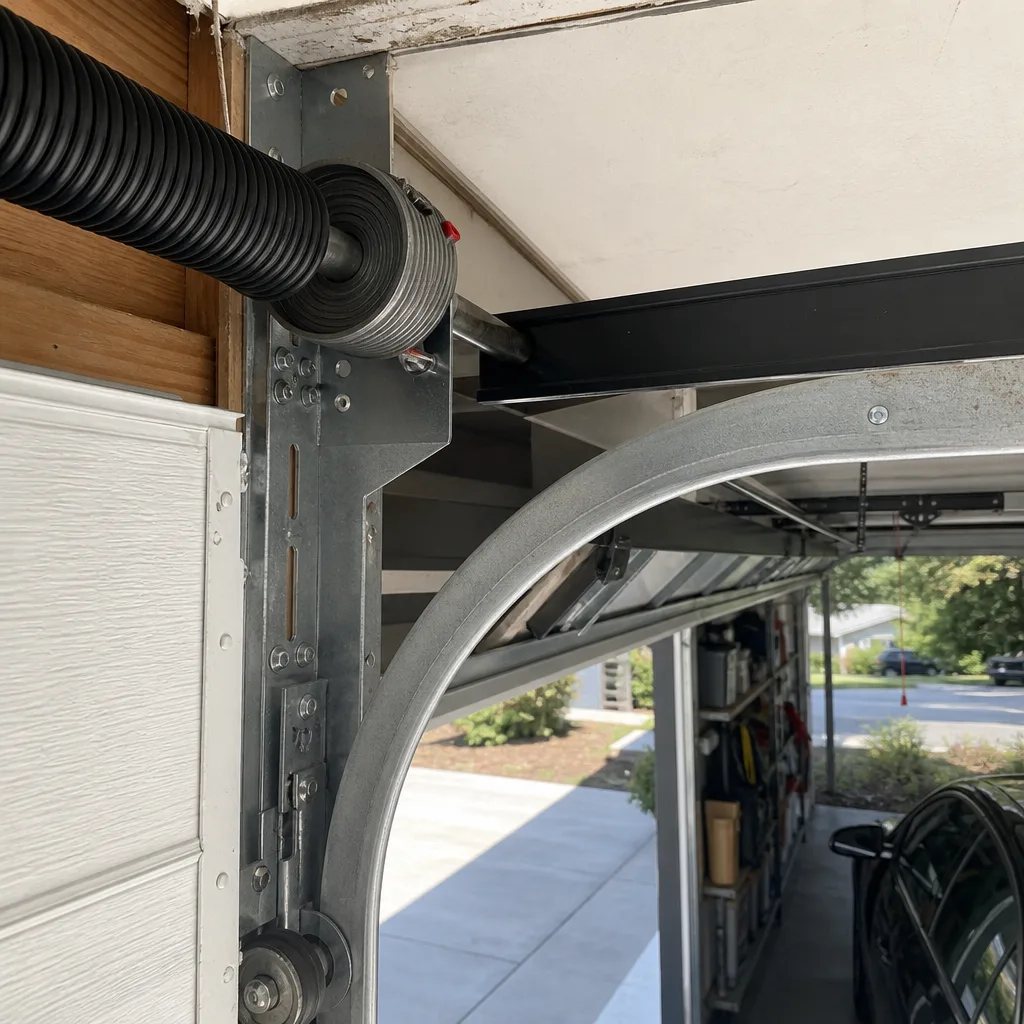
The torsion spring is the most dangerous component on your garage door system. It holds enough stored mechanical energy to cause severe injury or death if mishandled. Our position, consistently, is that homeowners should inspect torsion springs from a safe distance and never attempt to adjust, unwind, or replace them. This section explains what to look for, not how to fix it. The moment you identify any of the following conditions, stop using the door and call a professional. This is not a DIY repair threshold.
Standing on a stepladder with your feet planted and your hands not touching anything above shoulder height, examine the spring visually. Here’s what the inspection looks for:
- Clean break at a coil: This is the most obvious failure and requires immediate service. You’ll see two separated ends where the spring snapped, often with a small gap of one to two inches. The door will not lift manually without effort, and running the opener against a broken spring can strip the opener gear in seconds.
- Coil gap elongation: A healthy torsion spring under tension shows coils tight against each other, with no visible light between them. When a spring approaches the end of its cycle life, the coils begin to separate. If you can slip the edge of a credit card between any two coils, the spring’s internal structure has fatigued. This spring has maybe weeks to months left, not years.
- Gap wider than 1/16 inch across multiple coils: This is the credit-card threshold exceeded. Once gaps appear across three or more consecutive coils, the spring’s rate of degradation accelerates. Schedule replacement this month.
- Rust scale on coil surfaces: Douglasville’s humidity produces surface rust on unprotected springs within a single season. Light surface rust is cosmetic. Flaking scale, where the coil diameter visibly varies under the rust, indicates material loss. The spring effectively has a smaller wire diameter than it was rated for, which changes its cycle rating and failure pattern.
- Spring appears twisted unevenly or has a visible wave: This indicates the spring lost tension unevenly, often due to a broken set screw or a worn winding cone. Do not operate the door. The spring can unwind rapidly and without warning.
The fail point on a torsion spring is not predictable to a specific day, but the coil gap measurement is the most reliable early warning we know. When a homeowner in Douglasville tells us “it looked fine last season and broke this week,” that’s usually not true. That homeowner didn’t know what a developing coil gap looks like. Now you do.
Roller and Hinge Wear: The Parts That Fail Quietly
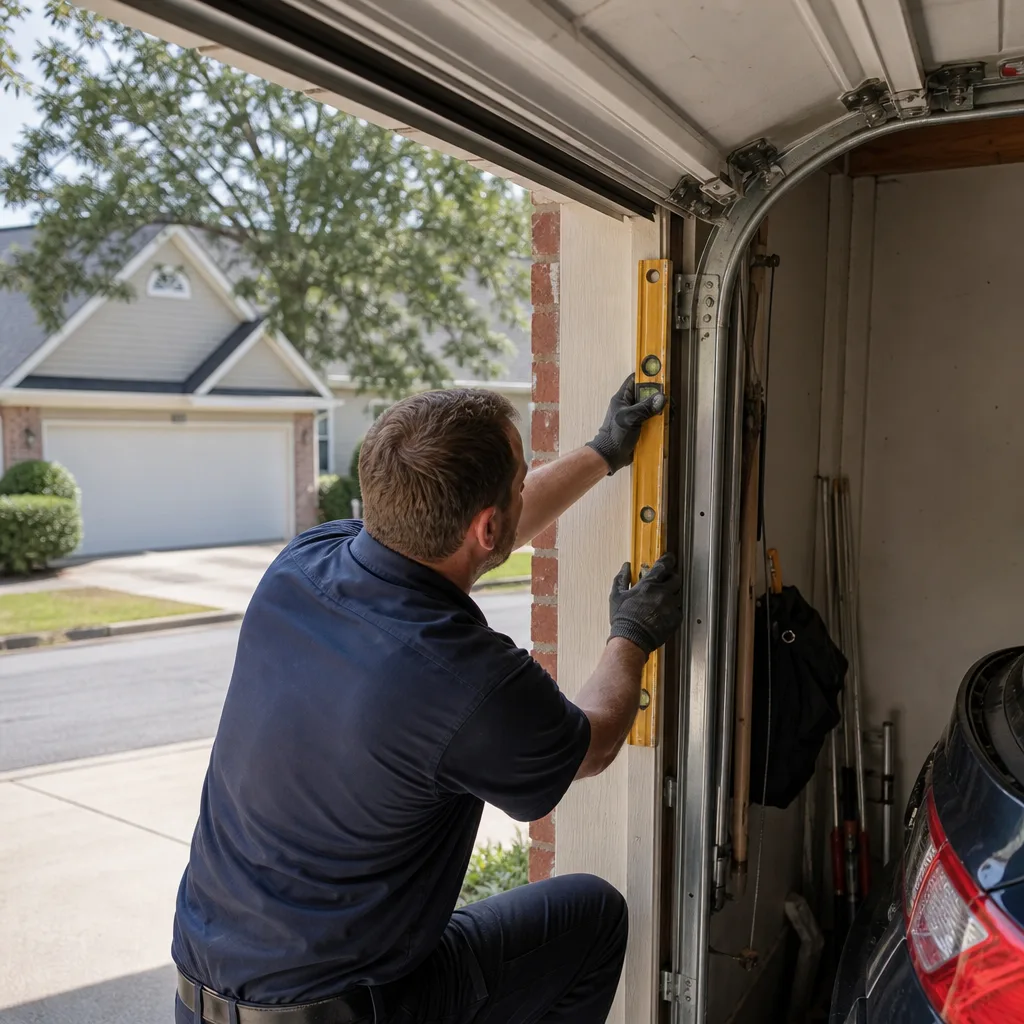
Garage door rollers have a service life measured in door cycles. With a 10,000-cycle rated roller and average use of four cycles per day, that’s roughly seven years. Douglasville commuters who use the garage door as the primary exit and entry point may hit six cycles per day, shortening that window considerably. Roller failure rarely announces itself. A roller that is failing produces a slight wobble, a faint grinding, or a visible flat spot. None of these are loud. They’re easy to miss until the roller seizes and the door starts jerking.
What to identify during inspection:
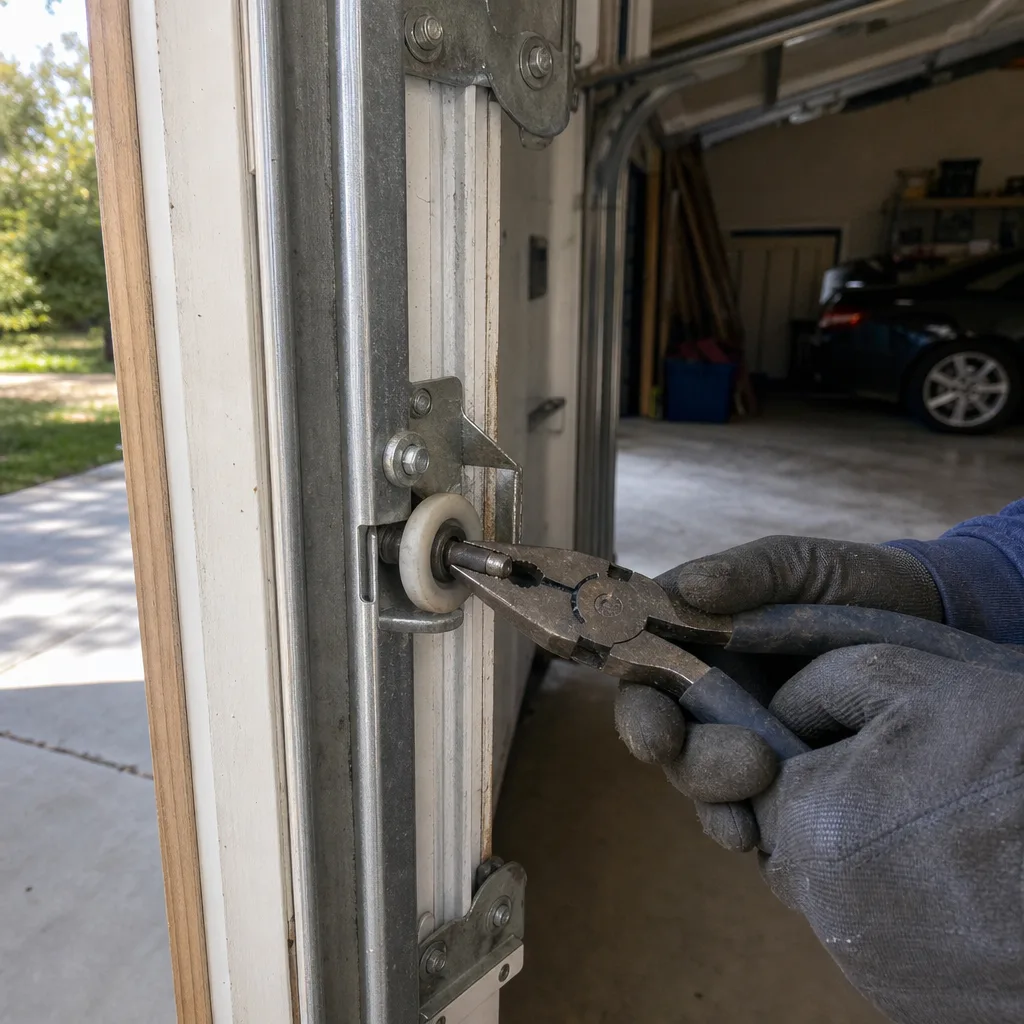
- Nylon wheel with visible flat spots: The wheel no longer rolls. It slides against the track, which wears the track surface and causes the door to bind at the same spot every cycle. Replace the roller.
- Bearing play: Grasp the door panel and try to wiggle the roller stem side to side. Noticeable movement of the wheel relative to the stem means the bearing inside the roller is gone. The wheel is now spinning on a dry axle.
- Missing ball bearings: Some steel rollers contain visible ball bearings at the wheel hub. If any are missing, the roller will not rotate evenly. Replace immediately.
- Cracked hinge leaf: Hinges carry the full panel weight at each joint. A hairline crack at the hinge leaf stress point propagates over weeks. If you see a crack, do not wait for it to complete through the metal. A failed hinge can allow the panel above to fold, which turns a repair into a panel replacement.
- Loose hinge screws: The screws that secure hinges to the panel back out over time, particularly on wood frame doors common in Douglasville’s established neighborhoods. A hinge with one loose screw introduces play that accelerates wear on the other screw.
Roller and hinge inspection is the quiet work of garage door maintenance, the kind that prevents the mid-cycle failure that stops your morning. It takes five minutes and requires no tools beyond your hands and your eyes.
Cable and Drum Inspection: What Fraying Looks Like Before It Breaks
Garage door cables are high-tension steel wires, typically 1/8 to 3/16 inch in diameter, that transfer spring force to the door. They live under the same tension as the spring, and they do not give a second chance when they fail. A snapped cable drops the door unevenly, wedges it in the track, and applies damaging side load to the remaining cable and drum. Like torsion springs, cables are not a homeowner repair item. The inspection is visual and requires no contact.
Here’s what cable failure looks like before it becomes a cable break:
- Individual wire strands separating from the main cable body: You’ll see this most often near the drum, where the cable wraps and unwraps under greatest friction. A cable with three or more separated strands is a replacement candidate. One strand separating is a warning sign to monitor.
- Flattened or necked-down sections: Where the cable has rubbed against the drum edge or a bracket, you may see a thinner section or a shiny, compressed area. This is abrasion wear. That section now carries the cable’s full tension over a smaller cross section.
- Rust bloom at the drum connection: Douglasville humidity attacks cable anchor points relentlessly. Rust at the cable loop where it connects to the drum is a retirement signal. The loop itself is a stress riser, and rust accelerates fatigue at exactly the worst point.
- Uneven wrap pattern on the drum: With the door closed, look at the cable as it sits in the drum groove. The wraps should stack neatly side by side. If a wrap crosses over a previous wrap, the cable is not seating properly. This causes friction heat and premature abrasion.
- Loose cable with the door closed: This is an emergency indicator. A cable that hangs loose with the door down means the spring force is not reaching that side of the door evenly. Do not operate the door.
The pattern we see in Douglasville service calls is a cable that had been showing warning signs for months and was noticed only after it snapped. This section exists so you do not become one of those calls, because a snapped cable requires the kind of same-day repair that interrupts your week. For help choosing who to call, see our How to Hire a Garage Door Contractor in Douglasville: A Step-by-Step Guide.
Bottom Seal and Weatherstrip: Douglasville Pests, Moisture, and the Gap That Invites Both
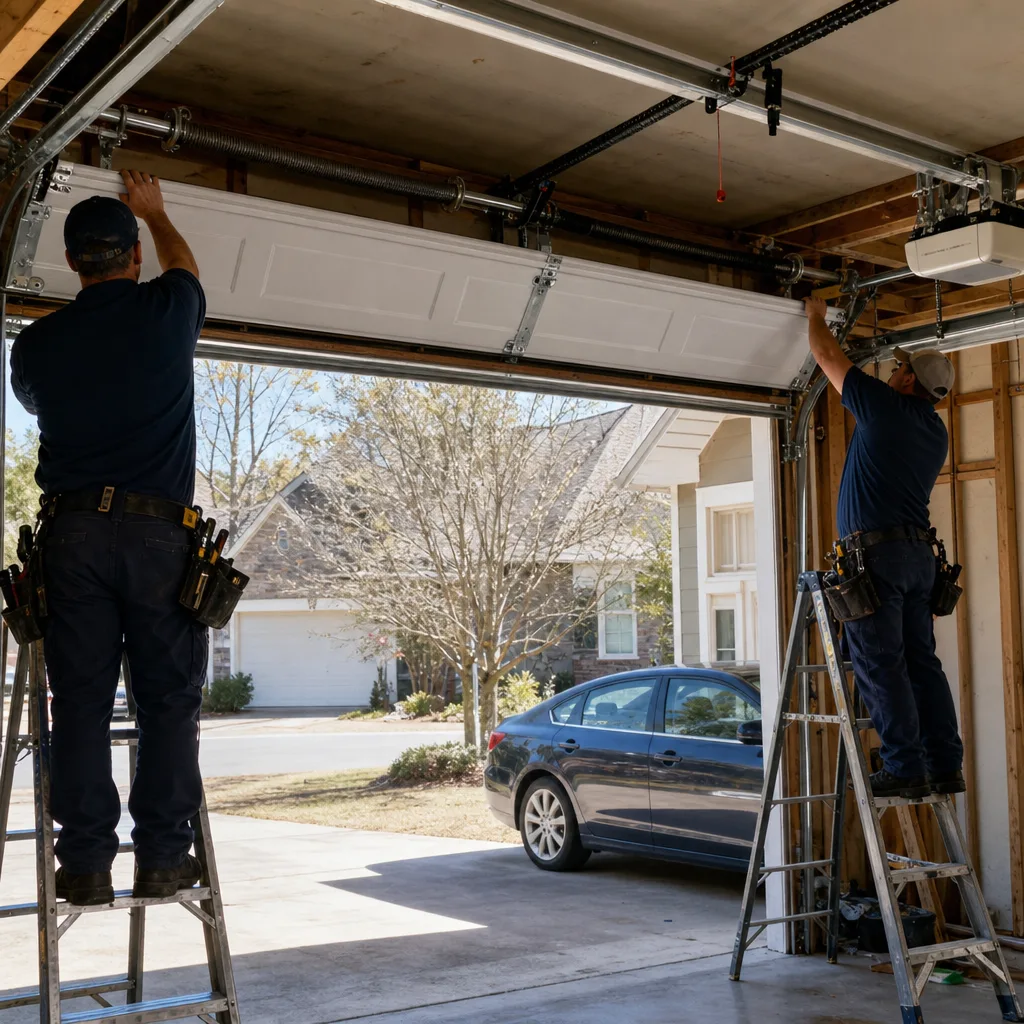
Douglasville’s combination of red clay soil, summer thunderstorms, and a healthy population of mice, rats, millipedes, and occasional snakes makes the garage door bottom seal a structural defense, not a cosmetic trim. The bottom seal is the rubber or vinyl strip attached to the bottom panel edge. It compresses against the concrete slab. When it’s intact, it blocks water, dirt, leaves, and the insects that follow moisture. When it’s torn, compressed, or missing entirely, it becomes an open invitation.
The inspection is simple and concrete:
- Close the door all the way and look for daylight at the slab joint. Any gap that lets light through is a gap that lets water and pests through. A properly seated seal should show full contact across the entire door width.
- Check the seal profile. A U-shaped or T-type seal that has permanently compressed into a flat shape has lost its spring-back. Douglasville’s summer heat accelerates this compression. If the rubber no longer returns to shape after you press it, replace it.
- Check for tears at the corners. Corners are where the seal takes the most lateral stress as the door cycles. A tear at either corner is the most common entry point for mice, which then nest in the door track insulation or opener housing.
- Look at the seal-to-panel attachment channel. Dougalsville’s red clay dust is abrasive. It works into the seal channel and accelerates wear at the seal’s connection point. If the seal pulls free of the channel in any spot, replacement is cheaper than repairing the water-damaged panel bottom that follows.
- Inspect the weatherstrip on the side and top jambs with the same attention. Side weatherstrip prevents the convection effect that pulls conditioned air out of the garage in summer and lets cold air in during our brief winter freezes. A door with intact bottom seal but missing side seals still loses climate control.
Replacing a bottom seal costs less than most people expect, and it’s a repair that pays for itself in reduced pest intrusion and lower cooling load. For detailed guidance on the components and service involved, see our page on Garage Door Repair in Douglasville.
Opener Safety Systems: Photo Eyes, Force Settings, and the Two-by-Four Test
Your garage door opener contains two safety mechanisms mandated by federal regulation since 1993, and both are testable by any homeowner in under ten minutes. The auto-reverse mechanism (often called the two-by-four test) tests the opener’s force limit. The photo eye system tests the opener’s ability to detect an obstruction in the beam path. Both should be tested monthly, and neither requires tools beyond a roll of paper towels or a two-by-four block.
- Photo eye alignment test: With the door open, check that both photo eyes, the small sensors mounted about six inches off the floor on each side of the door opening, show a steady indicator light. Place a roll of paper towels in the beam path while the door is open and press the wall button to close. The door should refuse to close or should reverse immediately upon closing. If the door closes on the paper towel roll, the photo eye system is not functioning.
- Two-by-four reverse test: Place a two-by-four block flat on the floor directly under the door’s path. Close the door. The door should contact the wood, reverse direction, and return to the open position within two seconds of contact. If the door continues pressing down on the block, the force setting is too high and requires immediate professional adjustment.
- Physical obstruction check: With the door closed, stand inside the garage and pull the manual release. The door should lift smoothly to the full open position without excessive effort. If the door is difficult to lift manually, the spring has failed or lost significant tension, and the opener is carrying the load.
Force settings matter in Douglasville because our doors are frequently adjusted by homeowners trying to compensate for other problems, like a failing spring. If a door stops going up all the way, the fix is spring replacement or limit switch adjustment, not cranking up the opener force. An over-force opener is a safety hazard that will eventually crush something. If your opener needs repair or replacement, our Garage Door Opener Repair & Installation in Douglasville page covers the specific makes and failure patterns we work with most often.
Documentation Discipline: Date-Stamped Photos and Degradation Tracking
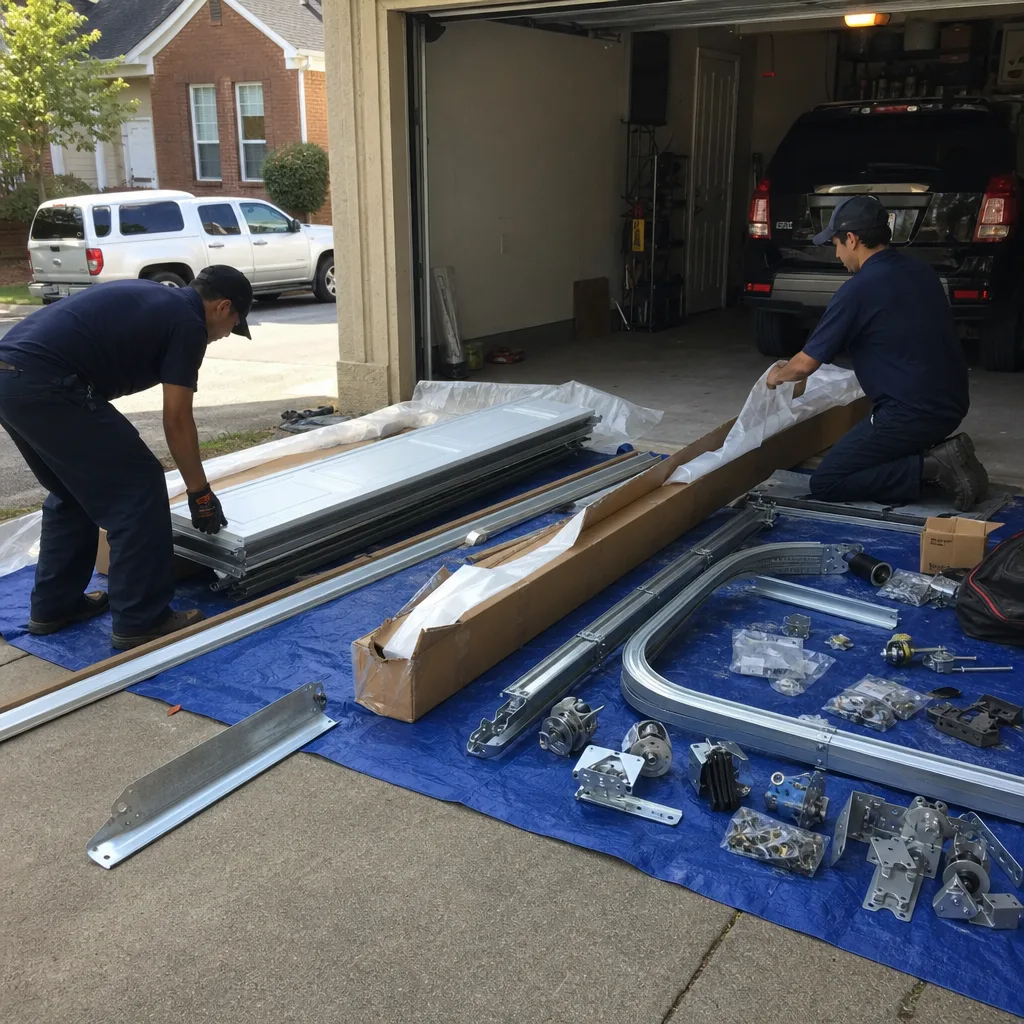
Here’s a practice that costs nothing and pays off the next time you call for service. Every inspection you perform, photograph the component you just examined. Use your phone’s timestamp feature or write the date on a piece of paper and include it in the frame. What you are creating is a degradation log that no technician’s one-time inspection can match. For more guides & resources on building your maintenance system, explore our blog. A photo of a torsion spring with tight coils in March and visible gaps in September tells a professional exactly how fast that spring is fatiguing. A photo of a bottom seal with minor compression in April and a flat profile by July tells us what type of seal replacement to spec.
We’ve built our entire diagnostic process around this principle. The founding rule of Servo is that the customer sees the failed part before anyone quotes a replacement. We photograph the failed component, show it to you on a tablet, and explain what we’re seeing. Clause 4 of The Haven Standard is why the technician photographs the failed part before quoting a replacement. Your home documentation works the same way: it’s not about taking pictures. It’s about creating a comparable record so the next decision is based on evidence, not memory.
Keep a simple folder on your phone or computer called “Garage Door” and add your monthly inspection photos to it. When you call for repair, mention the folder exists. The technician can compare current condition to your dated photos and tell you exactly how fast the degradation is progressing, which determines whether you need service this week or can schedule at your convenience. That’s the difference between replacing a spring because it broke and replacing a spring because the data says it’s time.
Common Mistakes to Avoid
- Using WD-40 on everything. WD-40 strips existing lubricant and leaves metal exposed to Douglasville’s humidity. Use lithium grease on bearings and torsion springs, and never lubricate the track itself.
- Adjusting or replacing torsion springs without proper training. Torsion springs hold enough energy to cause severe injury. No maintenance checklist should ever include spring adjustment. Visual inspection only, and call a professional for any spring work.
- Ignoring a failing balance test. A door that drops three inches or more is placing constant strain on the opener and hinges. The longer you run it that way, the more expensive the eventual repair becomes.
- Running the opener with a broken spring. The instant you hear a loud bang from the garage and the door refuses to lift, stop using the opener. Continuing to run the opener against a broken spring strips the nylon drive gear in minutes.
- Replacing the bottom seal but ignoring the side weatherstrip. The door is a system. One good seal does not offset two missing ones, and Douglasville pests will find the gap.
- Hiring a repair based on price alone without documentation. The lowest quote often omits the same scope of work you’ll pay for later. Always insist on a written price and written scope before work starts. Clause 1 of The Haven Standard exists because we’ve seen what happens when homeowners accept verbal estimates.
- Skipping the monthly photo eye test. A photo eye that has been knocked out of alignment by a bike handle or trash can leaves your garage without its primary safety sensor. You won’t know until something is in the door’s path.
When to Call a Professional
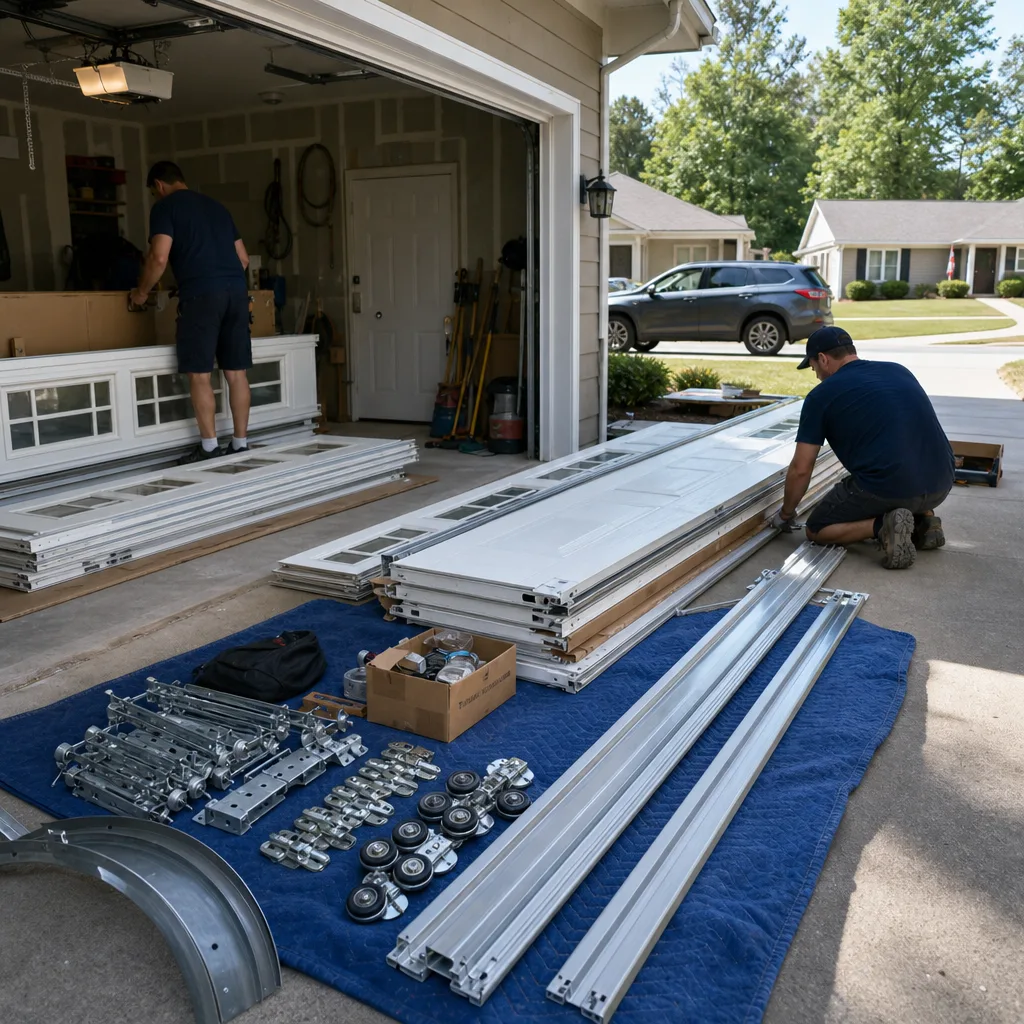
Call a professional when the balance test fails by more than three inches, when torsion spring coils show credit-card-width gaps, when any cable has separated strands or sits loose, or when the opener fails any test in the safety section. These are not conditions that improve with monitoring. They are failure thresholds that have already crossed into the zone where continued operation damages other components. Servo Garage Doors Douglasville offers free estimates in Douglasville, and every job gets a flat, written price and written scope before any work begins. Call (470) 243-8314 to schedule an inspection or Garage Door Installation in Douglasville if your door has reached the point where replacement makes more sense than repair.
Frequently Asked Questions
Perform the full checklist monthly, which takes about 15 minutes. Douglasville’s humidity accelerates rust and seal degradation compared to drier climates, so monthly inspection catches issues while they’re still monitorable rather than emergent. The balance test and photo eye test are the two items that should never be skipped.
A failed balance test, meaning the door drops more than three inches when released at waist height, indicates lost spring tension. The spring is either nearing the end of its cycle life or was set incorrectly during a previous repair. You should schedule same-week professional service, because running the door in this condition transfers spring work to the opener motor and accelerates opener failure.
No. WD-40 is a water displacer and solvent, not a lubricant, and it strips existing lubrication from hinges and rollers. Use spray white lithium grease or a silicone-based garage door lubricant on roller bearings, hinge pins, and torsion springs. Use NLGI Grade 2 grease on end bearing plates.
Look for visible gaps between the spring coils with the door closed. A healthy spring shows coils tight together with no visible light between them. If you can fit the edge of a credit card between coils, the spring is fatiguing. Gaps across three or more consecutive coils mean replacement should be scheduled within the month, and you should minimize door use in the meantime.
Douglasville’s red clay soil is abrasive, and our summer heat accelerates rubber compression. The seal takes a beating from both the material that contacts it and the temperature that bakes it while it sits against hot concrete. If your seal is flattening within a single season, ask about upgrading to a higher-durometer rubber or a heavier T-type profile.
A professional maintenance visit in Douglasville typically runs between $85 and $150, depending on the number of doors and the condition of the moving parts. Servo Garage Doors includes a documented photo record with every visit, so you get evidence of what was found and what was done. If a repair is needed during the maintenance visit, the price is quoted in writing before any work begins. Call (470) 243-8314 for an exact quote; estimates are free.
The Bottom Line
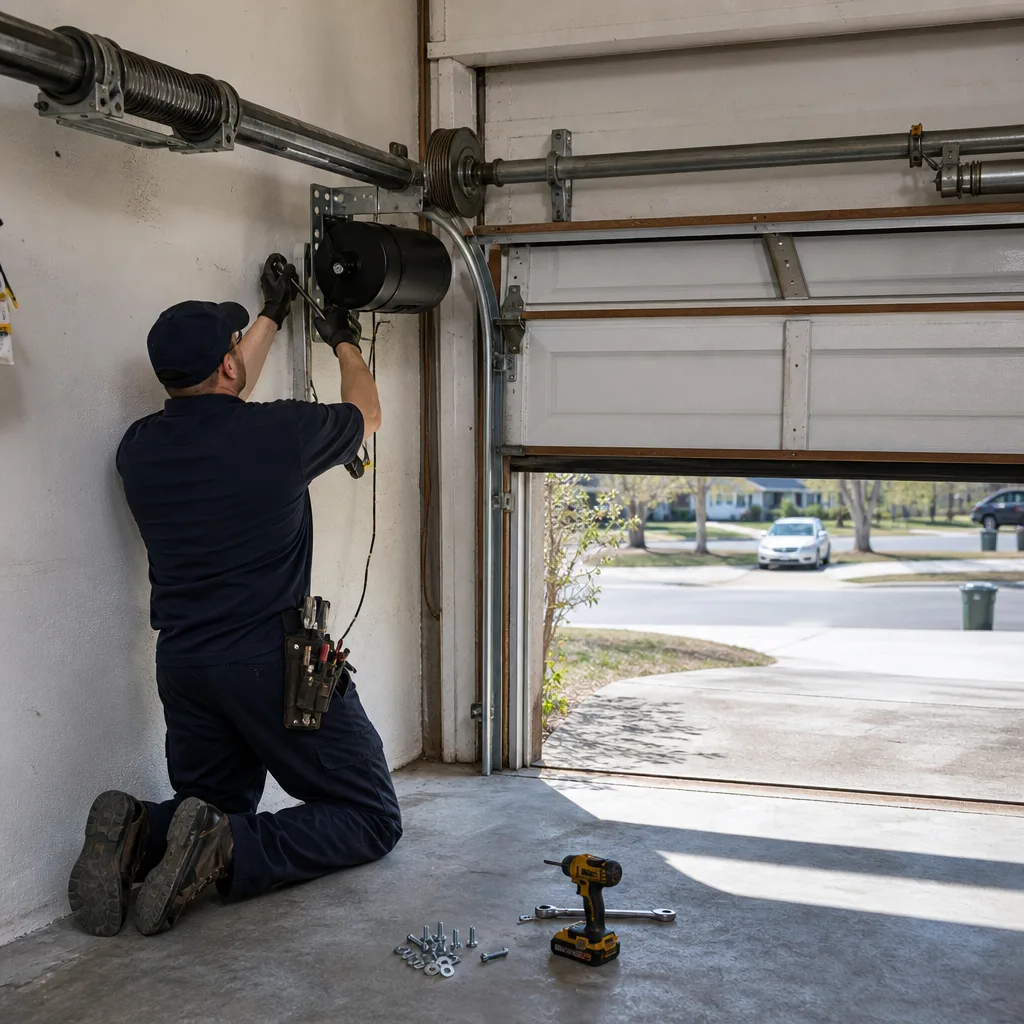
A useful garage door maintenance checklist is not a list of things to look at. It’s a list of thresholds that tell you what each finding means. The balance test tells you whether spring tension is correct. The coil gap measurement tells you whether a spring is weeks or months from failure. The bottom seal inspection tells you whether your garage is open to Douglasville’s pests and storms. Run the monthly routine, document what you see, and call for professional service the moment a component crosses its threshold. The goal is not to prevent every failure; that’s not realistic in our climate or with any mechanical system. The goal is to never be surprised by one. If you want a second set of eyes, Servo Garage Doors Douglasville home is the starting point for our full service catalog, and our phone number is (470) 243-8314.
Written by Marcus Deller, Owner at Servo Garage Doors Douglasville, serving Douglasville since 2015.