
Last updated September 20, 2026
Full 25-point door and opener safety check with every visit - springs, cables, rollers, tracks, and your LiftMaster or Chamberlain opener included
You get a price before we start. It does not change when the truck arrives.

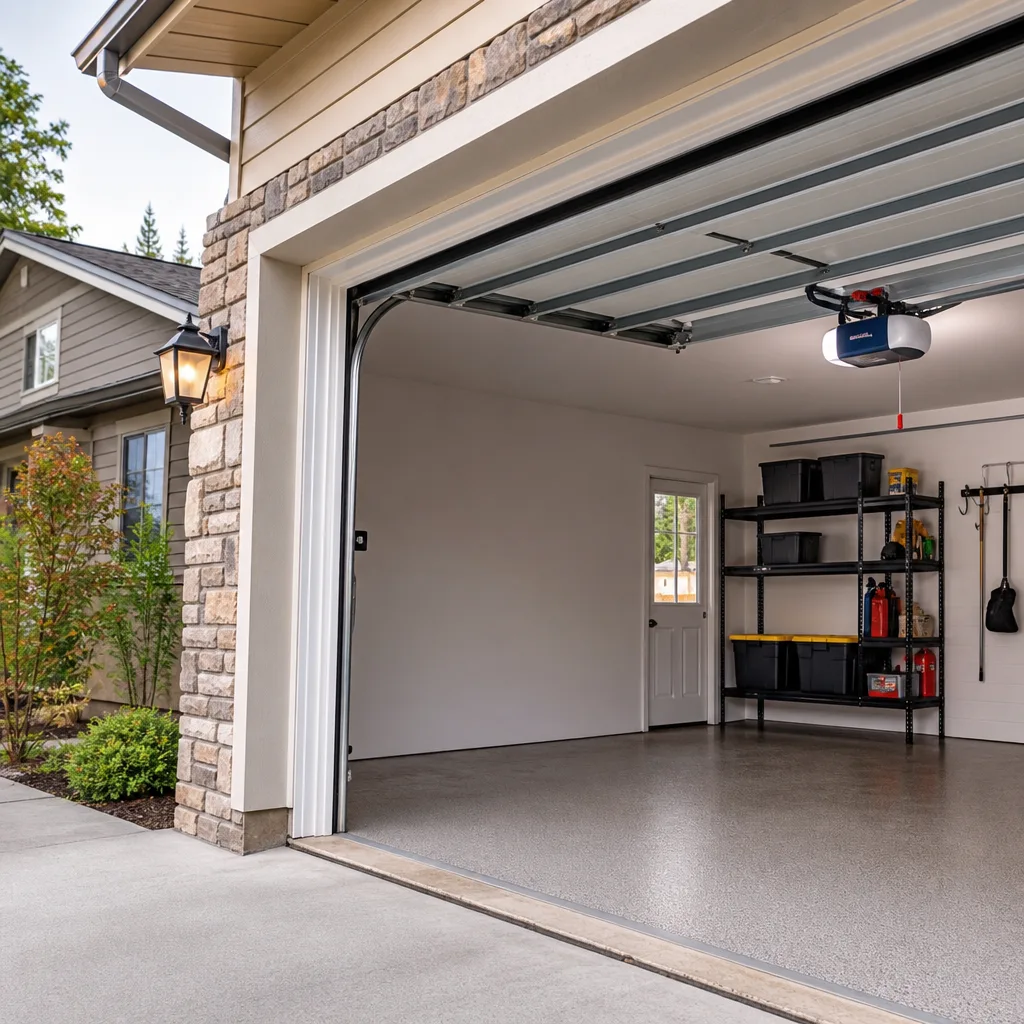
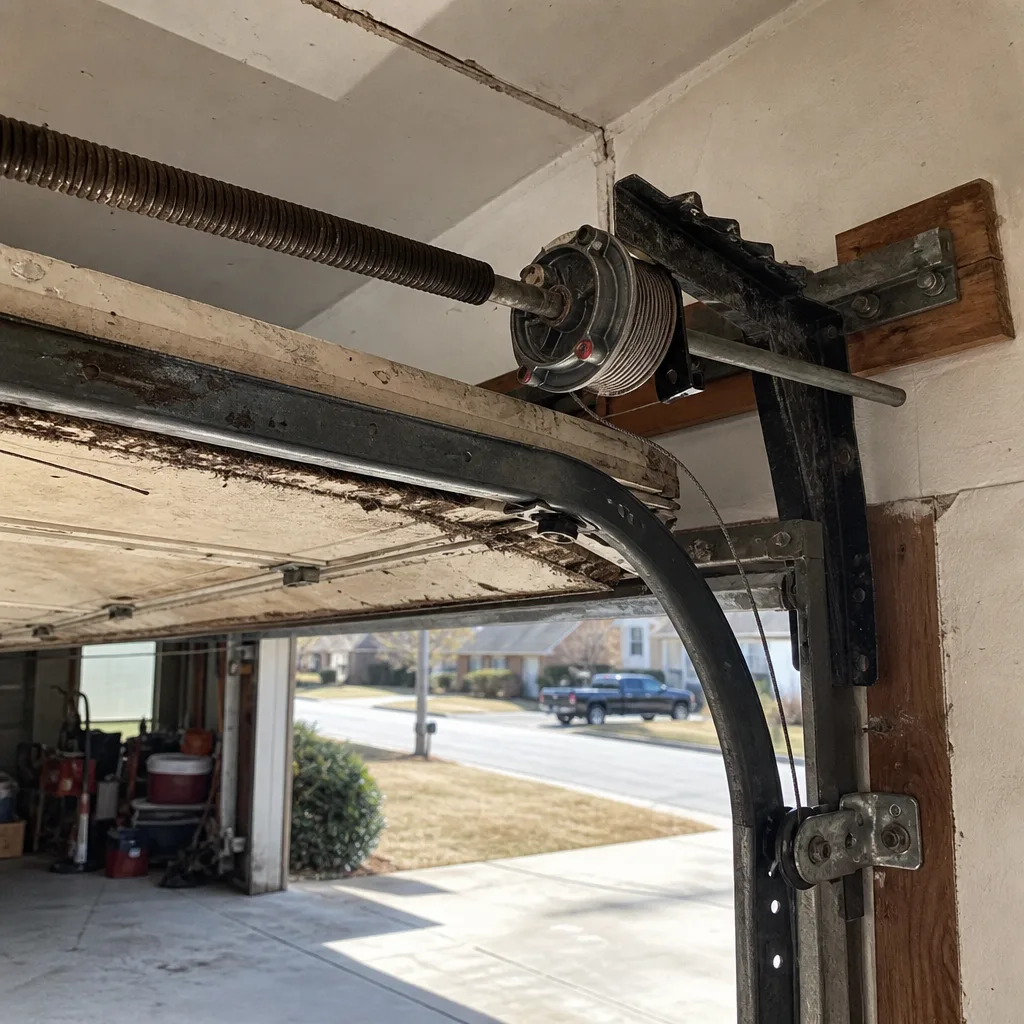 Before
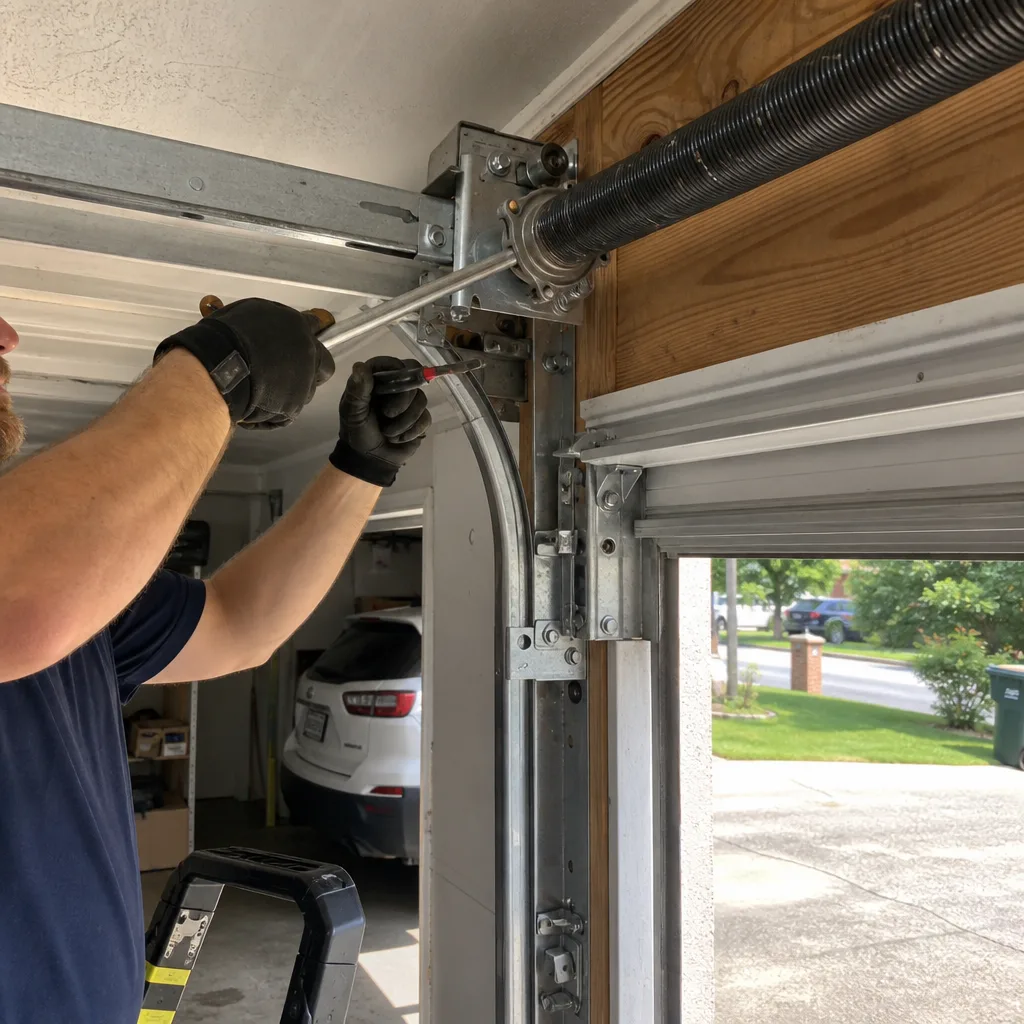 After
After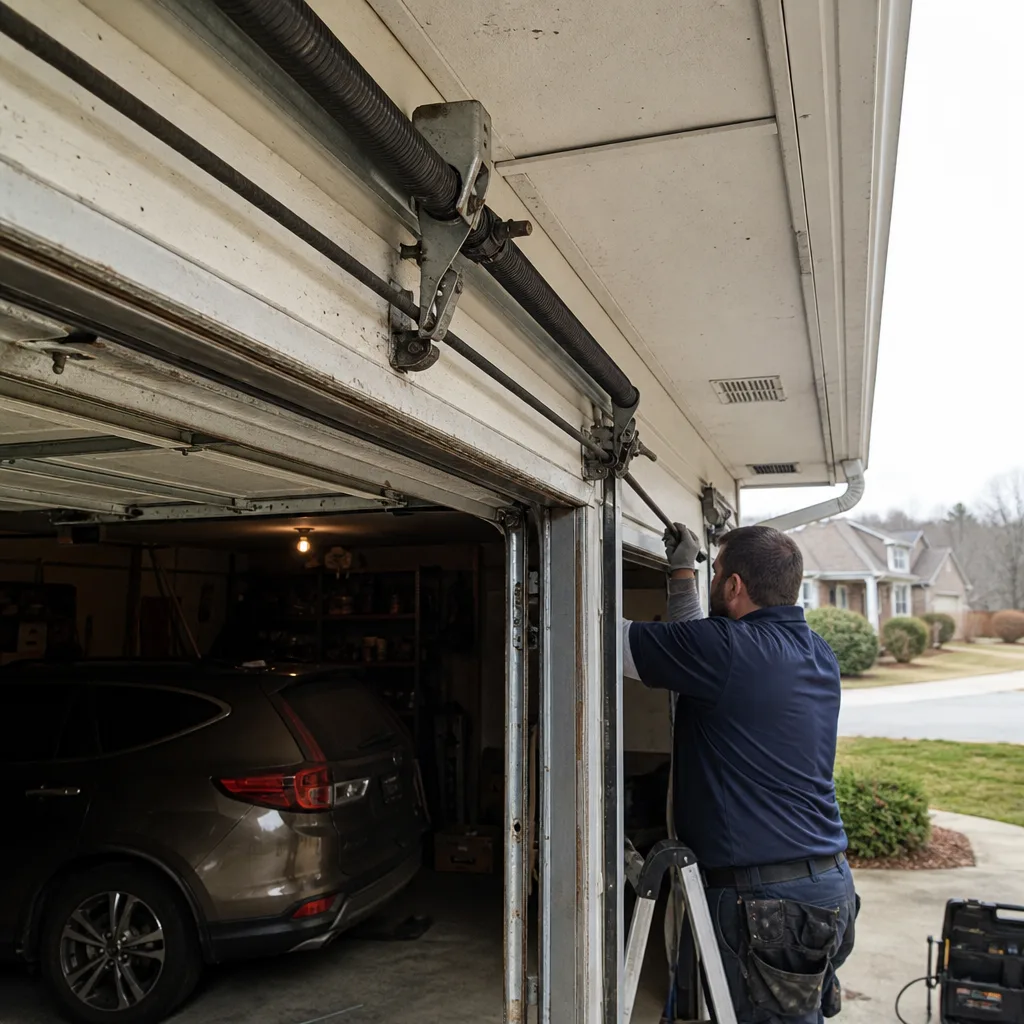 Before
 After
After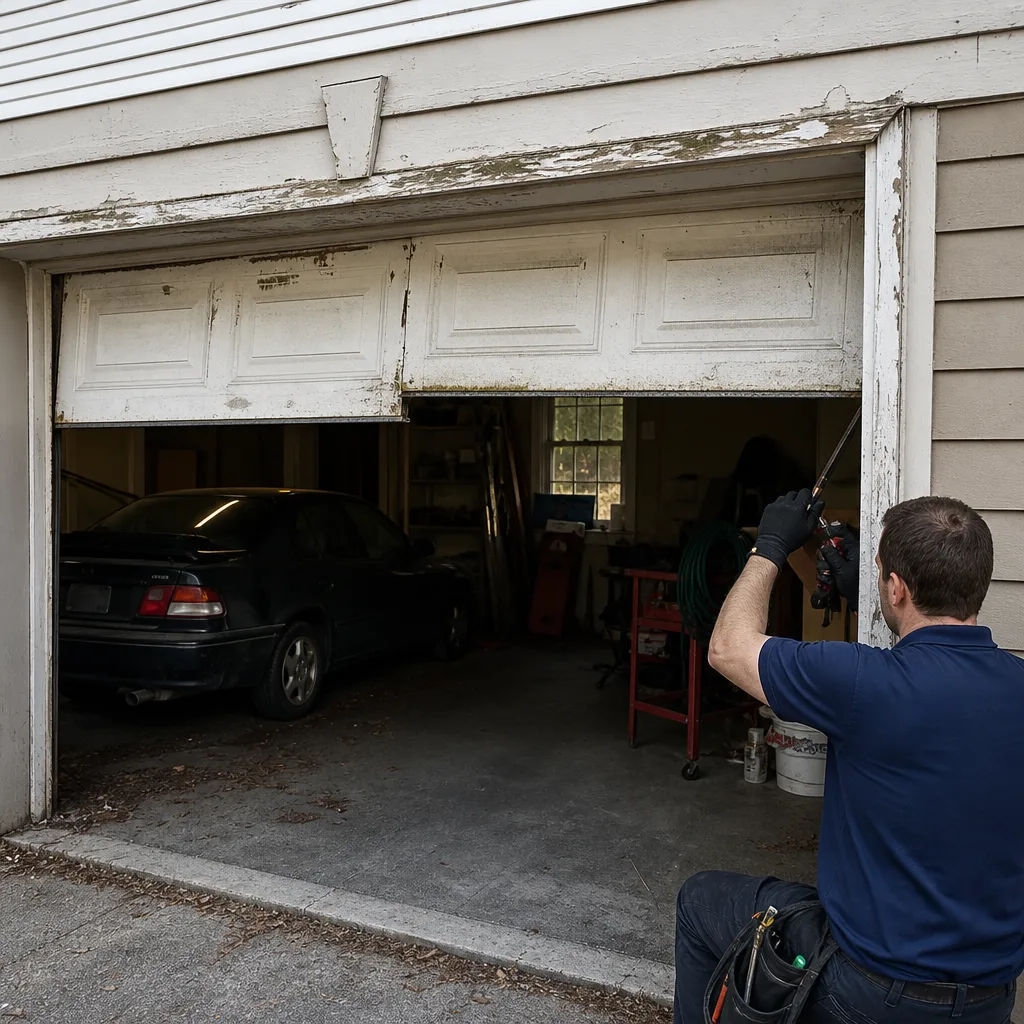 Before
 After
AfterDIY vs Professional Garage Door: The Douglasville Homeowner’s Decision Guide
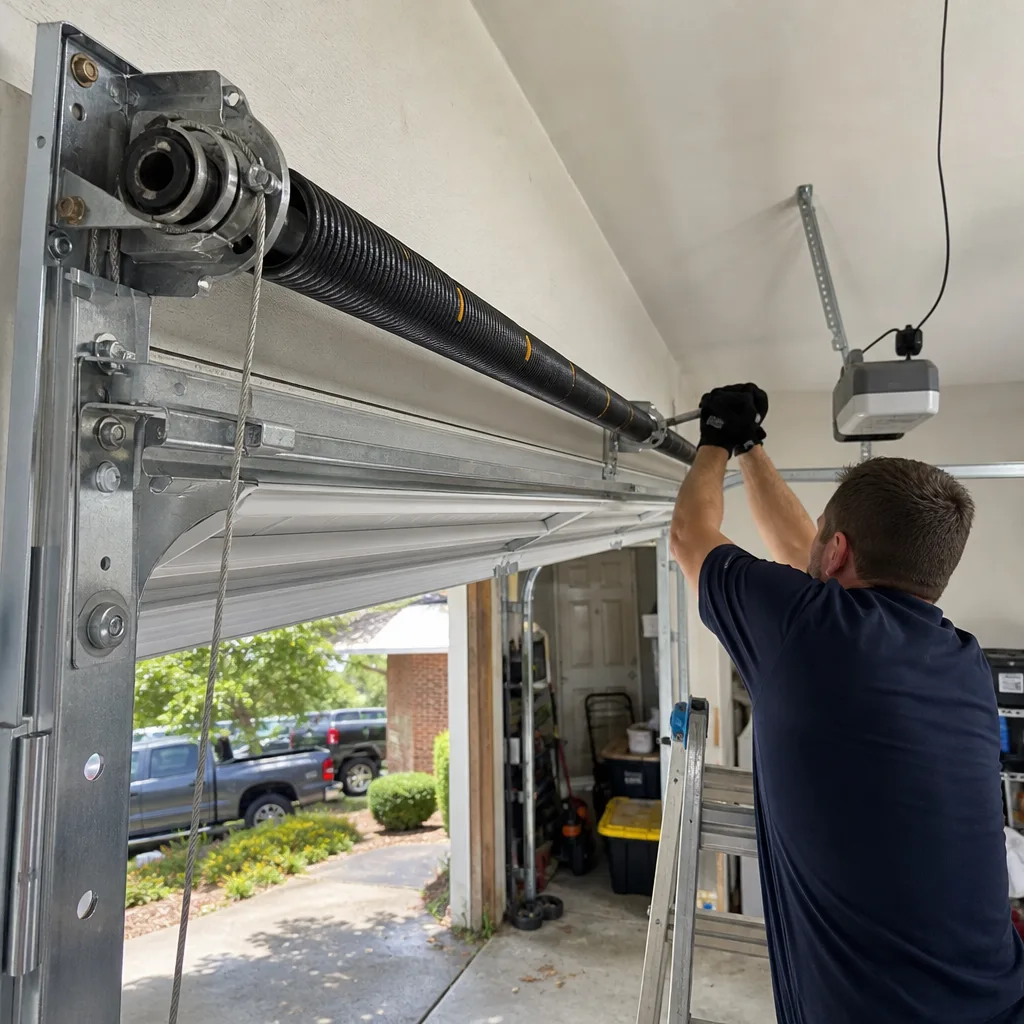
Every garage door in Douglasville has a torsion spring mounted above it, and that spring holds enough stored force to kill a person when it releases. That’s not liability language. It’s physics. The spring is wound tight enough to lift a 160-pound door, and when it snaps, the recoil travels through the winding cone at a speed that doesn’t give a hand time to move. Home Depot and Lowe’s both sell replacement torsion springs off the shelf in Douglasville, and neither one includes installation instructions beyond a torque spec. This guide exists because the honest answer to “should I do this myself?” isn’t a yes or no. It’s a list of which parts are safe to touch and which ones aren’t, and that list is specific enough to print and tape to the wall in your garage.
We’ve repaired and replaced garage doors in Douglasville since 2015. The advice below comes from what we’ve seen on job sites, not what we read in a manual. By the end, you’ll know exactly where the line is between a Saturday project and a call to someone with the right tools and the right paperwork. And you’ll know what to photograph, what to measure, and what to write down whether you do the work yourself or hand it to a pro.
Quick Answer
Bottom seal replacement, sensor cleaning, and basic lubrication are genuinely DIY-viable for most Douglasville homeowners with basic hand tools. Roller replacement and opener installation sit in the middle and depend on your mechanical confidence. Torsion spring replacement, cable work, and track realignment are professional-only tasks because the stored energy and failure modes carry a real risk of serious injury, and in Douglas County, some structural changes also carry permit obligations that affect your insurance and resale paperwork.
Table of Contents
- The Component-by-Component DIY Viability Chart
- Torsion Springs: The Line You Don’t Cross
- Cables and Drums: What Happens When One Lets Go
- Genuinely DIY-Friendly Tasks: What You Can Do This Weekend
- Opener Installation: The Cost Math You Haven’t Seen
- Douglas County Permits, Insurance, and Resale: The Paper Trail
- Documentation: What to Record Before, During, and After Any Garage Door Work
- Tools: Why a Winding Bar Is Not a Socket Wrench
BeforeAfterThe Component-by-Component DIY Viability Chart
Most DIY-versus-professional discussions treat the garage door as one big job. That’s the wrong frame. A garage door repair in Douglasville might involve five different components, and each one carries its own risk profile. Here’s the chart we’d hand a homeowner who wants to know what they can realistically do themselves.
| Component / Task | DIY Viability | Core Risk or Complexity | Typical Pro Cost Range | Parts-Only DIY Cost |
|---|---|---|---|---|
| Bottom seal replacement | High – genuinely DIY | None. Remove old seal, slide new one in. | $95 – $180 | $20 – $45 |
| Photo-eye sensor cleaning/alignment | High – genuinely DIY | None. Clean lens, adjust bracket, check alignment. | $75 – $130 | $0 – $10 |
| Lubrication of rollers, hinges, springs | High – genuinely DIY | Low. Use lithium grease on moving parts. | $85 – $140 | $8 – $20 |
| Battery replacement for keypad / remote | High – genuinely DIY | None. Match the battery type. | $30 – $60 | $3 – $12 |
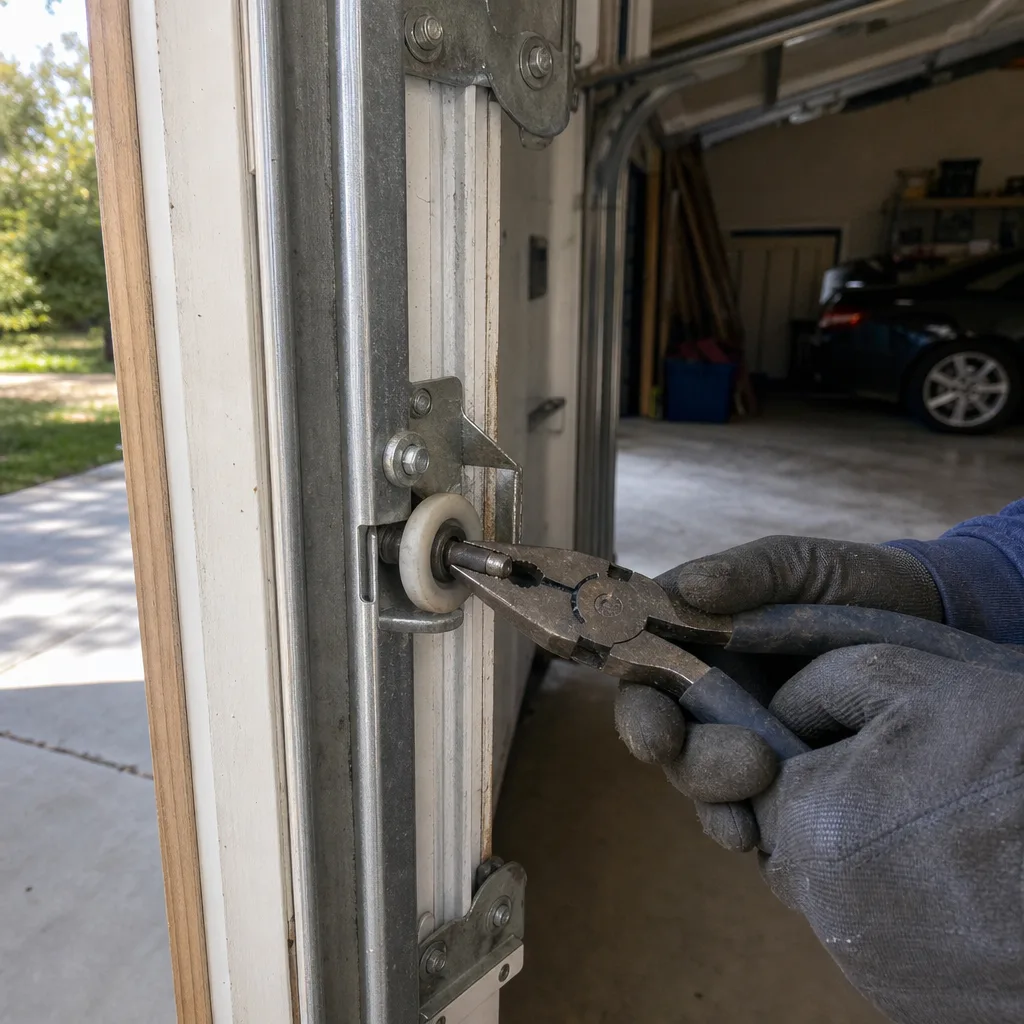
| Roller replacement (non-removable brackets) | Intermediate – depends | Requires opening track section. Pinch and spring-back risk. | $130 – $250 | $30 – $80 |
| Garage door opener installation | Intermediate – depends | Electrical connection, ceiling structure, force settings. Diagnostic value lost. | $380 – $750 | $180 – $400 |
| Limit switch adjustment | Intermediate – depends | Wrong setting bends the door or burns the motor. | $90 – $150 | $0 if you know what you’re doing |
| Cable replacement | Professional only | Cables share spring tension. Spring unwinding required for many setups. | $160 – $320 | $20 – $50 (parts) – do not attempt |
| Torsion spring replacement | Professional only | Stored kinetic energy. Fatal recoil risk. Winding bars required. | $180 – $340 | $50 – $120 (parts) – do not attempt |
| Track realignment / replacement | Professional only | Door weight supported during work. Structural bracket anchoring. | $180 – $420 | $40 – $120 (parts) – do not attempt |
| Panel replacement (single panel) | Professional typically | Panel weighs 40-70 lbs. Removing it shifts the door’s balance point. | $250 – $600 | $100 – $300 (panel cost only) |
The chart isn’t a sermon. It’s a sorting tool. The three rows marked “professional only” share a common failure mode: a component under spring tension releases suddenly, and the force involved is beyond what a human hand can control. The “intermediate” rows are where Douglasville homeowners most often get into trouble starting the job confident and finishing it with a door that won’t close. We’ll walk through each zone in detail below, but if the chart is all you take away, it’s enough to protect you from the worst outcomes.
Torsion Springs: The Line You Don’t Cross
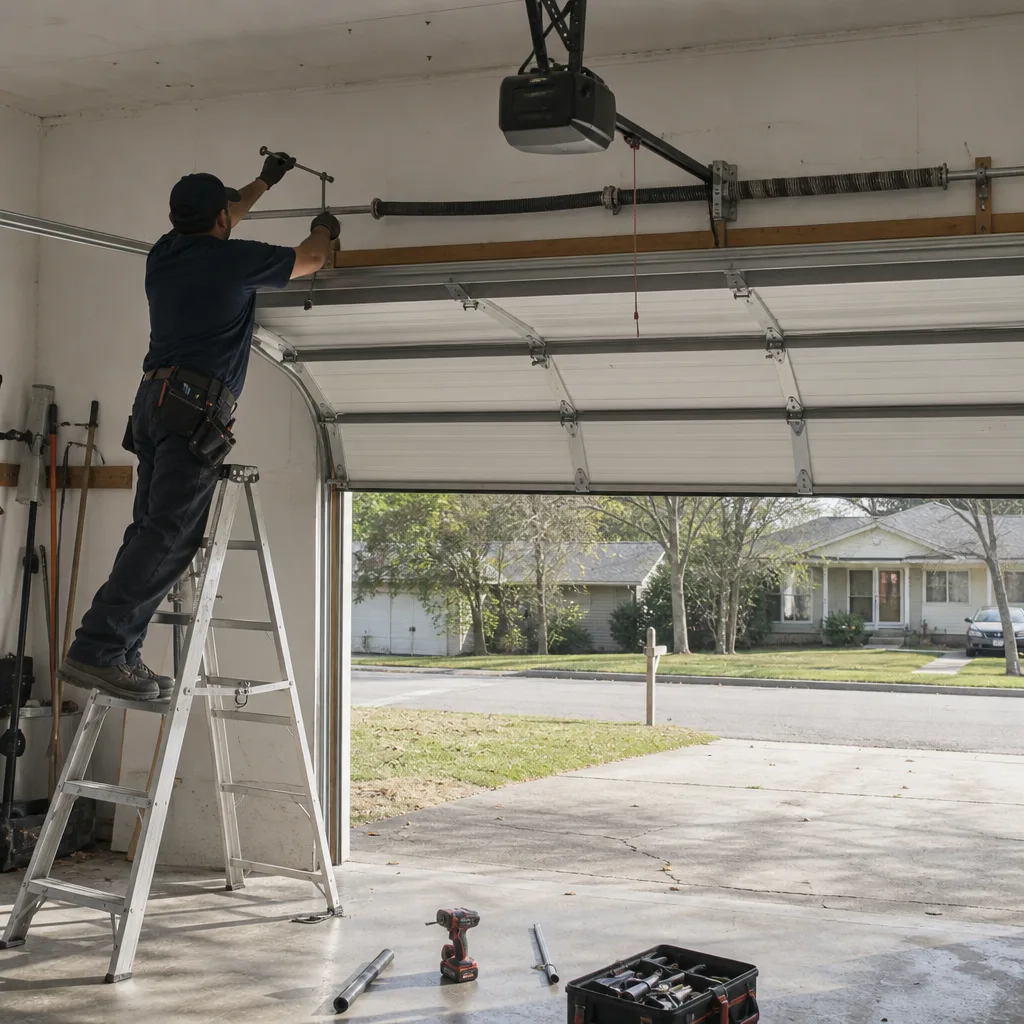
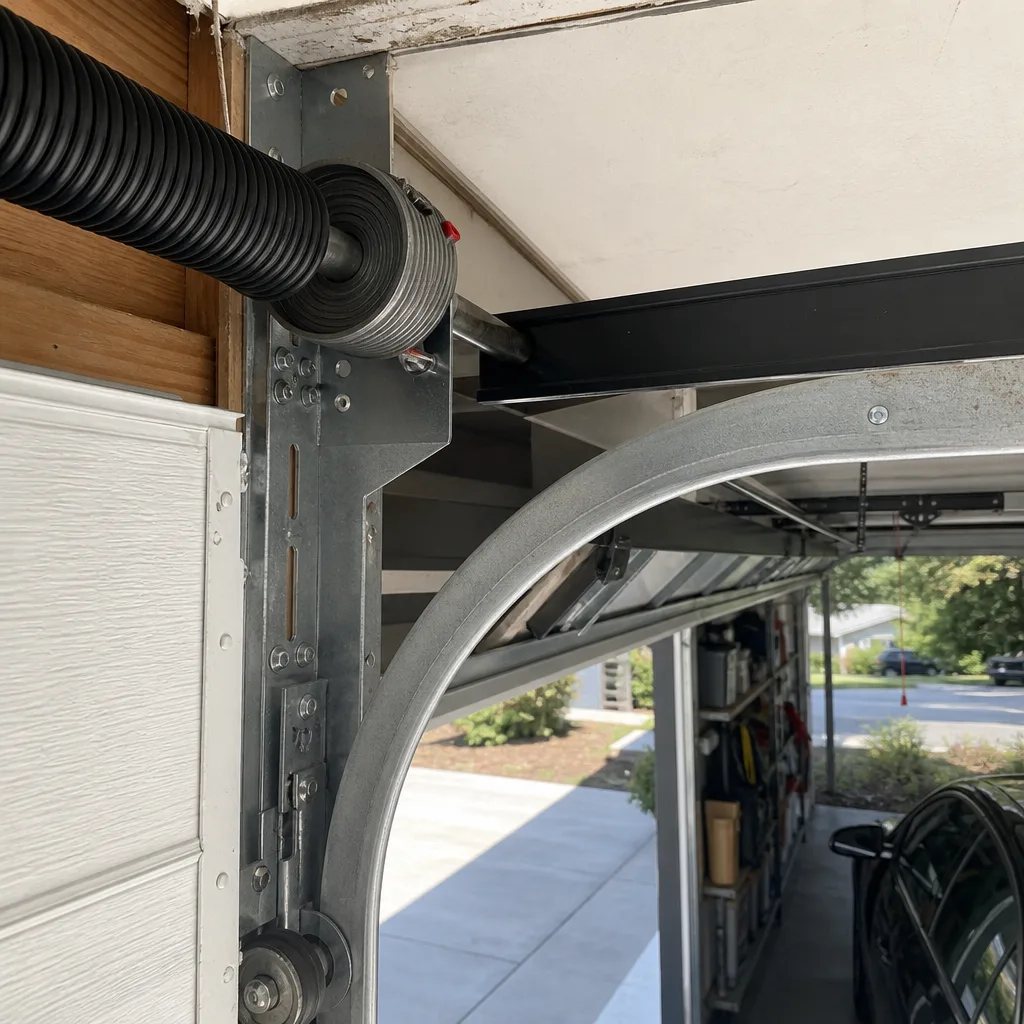
A torsion spring is a coil of tempered steel mounted on a shaft above the door opening. When the door is closed, the spring is wound under high torque, storing the force that cancels out most of the door’s weight so a 1/2-horsepower opener can move a 160-pound door. When the spring breaks, that stored force releases all at once. The most common injury we’ve seen in fifteen years isn’t a spring snapping while someone is winding it. It’s a homeowner using the wrong tool as a winding bar, the tool slipping out of the cone, and the cone spinning the bar into whatever part of the body is in its arc.
We’ve replaced springs in Douglasville neighborhoods from Anneewakee Trails to Chapel Hills, and we’ve seen the aftermath of DIY attempts that went wrong. The garage door spring is the one component where “I found a tutorial online” doesn’t outweigh the geometry. The spring’s torque spec is measured in quarter-turns, not degrees. A spring wound one quarter-turn too tight makes the door fly open when released. One quarter-turn too loose makes it drop hard enough to break a roller bracket. The gap between safe and not safe is measured in inches of wrench travel, and the penalty for error is a hospital visit or worse.
What to Check When a Spring Breaks (Before You Call)
- Confirm it’s the spring. Look above the door. A torsion spring broken in two will show a visible gap in the coil. You can’t miss it.
- Don’t try to operate the door. A door with a broken spring is entirely dead weight. The opener will strain and can burn out its motor in under a minute of trying.
- Don’t try to wind or unwind anything. Even a broken spring has residual stored torque in the section still attached to the bracket.
- Take a photo of the break. That’s the evidence a technician uses to quote a replacement before touching anything, and it’s what we mean by “the customer sees the failed part before anyone quotes a replacement.” Clause 4 of The Haven Standard exists because of this exact scenario.
- Measure the wire diameter. This is the one measurement that matters for a quote: the thickness of the spring wire in inches. A tape measure is enough to get within 0.05 inches.
Douglasville’s climate plays a role here. Georgia humidity plus hot-cold cycles through the year accelerates metal fatigue. Springs in Douglasville commonly last 8-12 years, compared with 12-15 years in drier climates. The spring that breaks at 3 a.m. on a cold January morning is the norm, not the exception. When that happens, a real person answers the phone at our shop, 24 hours a day, including weekends and holidays.
Cables and Drums: What Happens When One Lets Go
The cables on a garage door aren’t just there to keep the door level. They transfer spring force through the drums, which sit at either end of the torsion shaft, down to the bottom brackets on each side of the door. The cable wraps around the drum as the door moves. When a cable frays and snaps, the tension it was carrying releases instantly, and the door’s weight suddenly loads onto the one remaining cable. That remaining cable was not designed to carry the full load. It will often snap in the same event, and when it does, the door drops uncontrolled. If the door is halfway open, that’s a 100-plus-pound steel panel falling from five or six feet.
Cable replacement seems approachable because the part itself is cheap, usually under $30. The reason it’s in the professional-only column is that reaching the cable on a standard residential door requires releasing the spring tension. You cannot safely remove a cable from the drum without unwinding the torsion spring to zero torque, or at minimum locking the door in place with the correct tools and knowing exactly which fasteners are load-bearing. On some Douglasville homes with older garage door installations, the bottom bracket itself is rusted to the door, and removing it without damaging the door requires heat, penetrating oil, and patience you can’t improvise from a YouTube video.
How a Cable Frays (Warning Signs)
In our experience in Douglasville, where red clay dust gets into every hinge and track, cable fraying follows a predictable pattern. Look for these signs every three months:
- Rust at the bottom bracket connection. That’s where moisture concentrates. A rust-stained cable is a cable on borrowed time.
- Loose wound coils. The strands should lie flat and tight against each other. If they’re separated, internal strands have already broken.
- A door that’s heavier on one side. When one cable is stretched and the other isn’t, the door creaks and grinds, and you can see the imbalance from across the room.
- A gap between the cable and the drum. If the cable is riding over itself rather than seated in the groove, the drum is the problem, not the cable, and that’s a deeper repair.
When a cable snaps, the correct first step is the same as with a spring: don’t touch the door, don’t run the opener, and call someone who has the parts on the truck. We do.
Genuinely DIY-Friendly Tasks: What You Can Do This Weekend
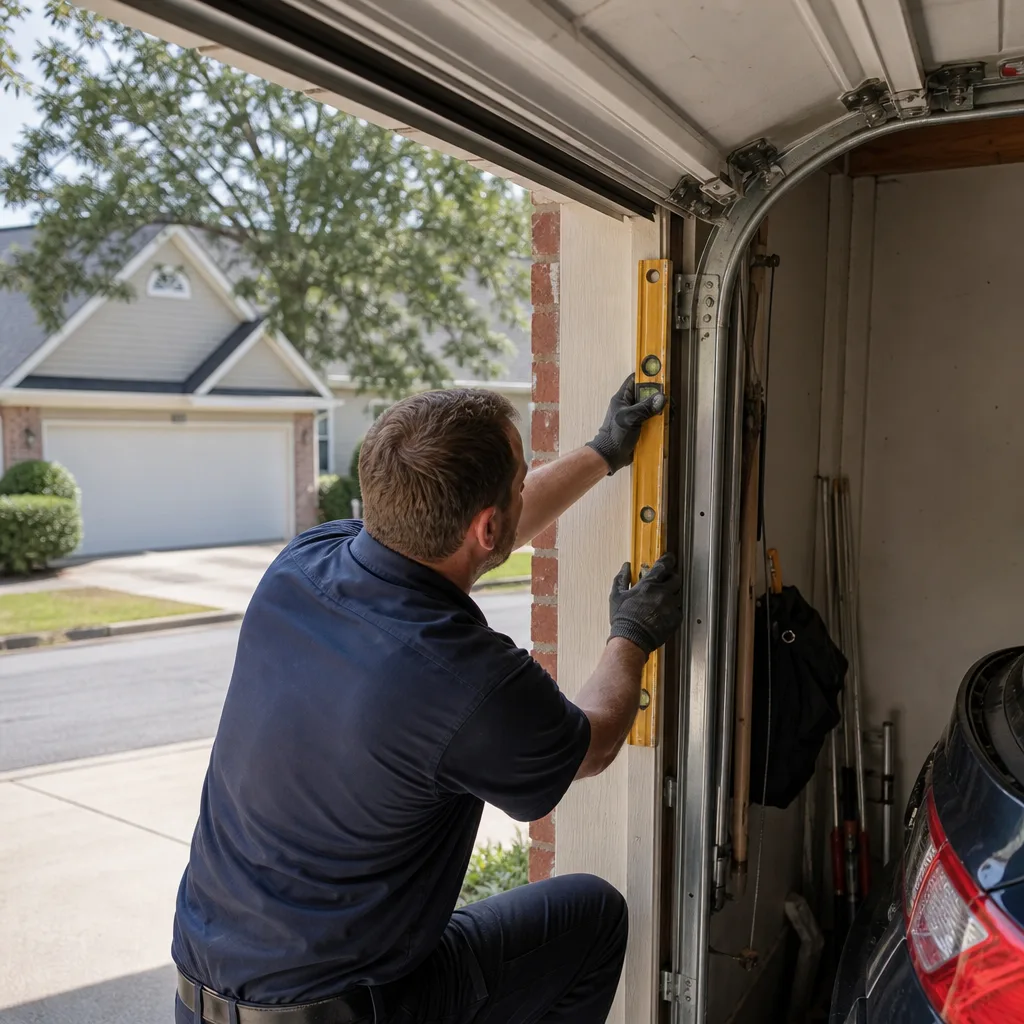
None of this is here to scare you away from the work you can do. There are five tasks that are genuinely safe, inexpensive, and satisfying to handle yourself, and they add up to real savings over a year. Here’s the full list with enough detail to do the job right the first time.
Bottom Seal Replacement
The rubber strip along the bottom of the door is called the astragal, or bottom seal. In Douglasville, it occupies the front line against rain, ants, and the damp that creeps up from concrete slabs. Seals last five to seven years before cracking. Replacement is a slide-out, slide-in job. You need the right width: measure the T-channel groove on the bottom of the door, usually 1/4 inch or 5/16 inch. Pull the old seal out from one end, slide the new one in, and cut to length. Total cost: under $50. Total time: 45 minutes, including the trip to the hardware store.
Sensor Cleaning and Alignment
The photo-eye sensors, one on each side of the door near the floor, shoot an invisible beam across the opening. If the beam is blocked, the door refuses to close, and a homeowner’s first instinct is that the opener is dying. Most of the time, it’s a dirty lens. Wipe both lenses with a dry cloth, then a damp one, then check alignment. The sensor light should be solid on both units. If one is blinking, it’s misaligned or the wire to that sensor is damaged. Loosen the bracket screw, adjust the angle until both lights are solid, and tighten. Five minutes, no parts.
Lubrication
Garage doors need lube once a year in Douglasville’s humidity. Use a lithium grease spray on the hinges, the roller bearings, the torsion spring’s coil surface, and the latch mechanism. Don’t use WD-40, which is a solvent, not a lubricant. Don’t spray the track; the rollers don’t ride on the track walls, they roll inside them. Listen for any grinding. A door that moves quietly is a door under low strain.
Keypad and Remote Battery Replacement
Most wall-mounted keypads in Douglasville run on a 9-volt or three AA batteries behind a slide-off faceplate. Remotes use a CR2032 coin cell, the same one you’d put in a car key fob. If the remote works from close range but not from the driveway, the battery is on its way out. This one is small, but it’s a frequent call that’s actually just a battery.
Opener Force Adjustment (Careful, Read First)
This crosses into intermediate, but it’s worth covering: the opener has two force adjustments, up and down. Both are set with a small dial on the motor unit. If the door reverses when it shouldn’t, the down force may be set too sensitive. But adjusting force without knowing the correct range can send the door slamming into the ground and bending a panel. Adjust a quarter-turn at a time, test with a roll of paper towels in the door’s path; the door should reverse when it touches the roll. If you’re not sure what you’re adjusting, stop and call. A force setting is not the same as a limit setting, and the two often get confused.
Opener Installation: The Cost Math You Haven’t Seen
Here’s the scenario we see in Douglasville every month. A homeowner buys a Chamberlain or LiftMaster opener from Home Depot for $220, spends four hours Saturday installing it, gets it connected to the Wi-Fi, and it works. For a while. Then the door starts binding at one point in its travel, or the opener reverses its own close cycle every third trip, or the belt slips. The homeowner assumes the opener is defective. The opener is fine. The problem is the pre-existing mechanical issue that the new opener is now exposing.
That’s the hidden cost of DIY opener installation. A technician installing a garage door opener in Douglasville doesn’t just mount the motor and run the chain. They check the spring balance, they check the rollers, they check the tracks, they confirm the door moves correctly by hand before the opener ever takes over. That diagnostic pass is the reason a professional install can detect a spring that’s three months from failing or a roller that’s grinding the track into a channel, problems a homeowner won’t see until the new opener’s force sensor triggers or the motor burns out trying to move a door that’s 20 pounds heavier than it should be.
The parts-only price for a good belt drive opener is $180 to $400. Professional installation in Douglasville runs $380 to $750, which includes the diagnostic pass and the labor. For a detailed breakdown, see our Garage Door Cost Breakdown: The Douglasville Homeowner’s Reference for 2026. When the job is done, the written price and written scope are on paper before any work starts, the warranty is in writing, and the homeowner has a photo record showing the install, the balance check, and the finished setup. When we do it, the customer leaves the appointment with evidence of what was found and what was done, tracing back to the founding rule that the customer sees the failed part before anyone quotes a replacement.
There’s also the floor. Georgia red clay stains everything, and douglas county garages are no exception. A proper opener install anchors to the ceiling joists with lag bolts, not drywall anchors. If the joist runs perpendicular to the opener rail, no problem. If it runs parallel, the installer needs to bridge the gap with a steel punched angle. That’s the kind of decision that changes mid-installation, and a homeowner staring at a parts bag at 9 p.m. on Sunday is not in a good position to make it.
Douglas County Permits, Insurance, and Resale: The Paper Trail
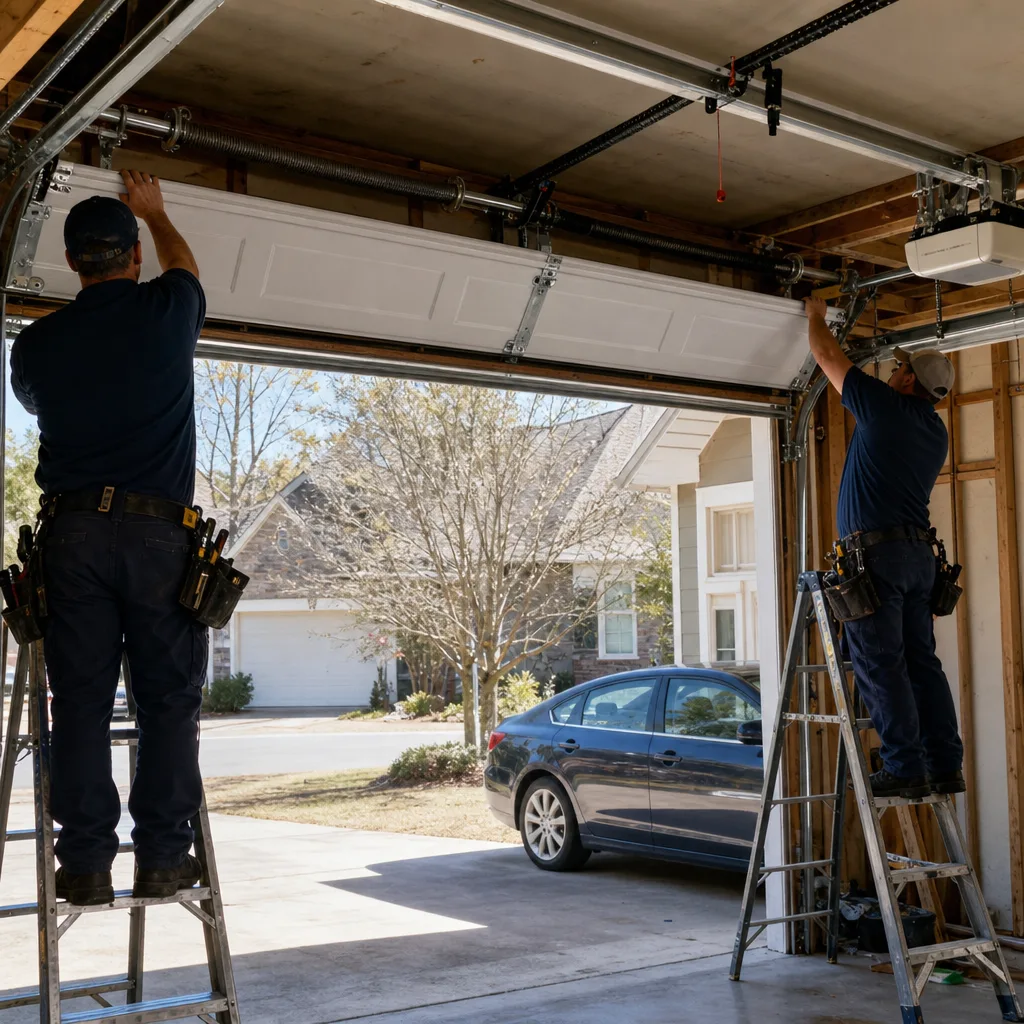
The permit question is the one most DIY garage door guides skip, and it’s the one most likely to bite a Douglasville homeowner later. In Douglas County, a garage door replacement on an existing opening does not require a building permit. Swapping a door in the same footprint is considered a repair, not a structural change. That’s the good news. The bad news comes when the project changes the structure: cutting a wider opening, adding a door where there wasn’t one, or modifying the header at the top of the garage opening. That work requires a permit, and when the time comes to sell the house, the seller’s disclosure statement from the Georgia Association of Realtors asks whether any work requiring a permit was completed without one. Answering honestly at that point means explaining an unpermitted header modification, and that’s a conversation that has killed more than a few Douglasville closing-day walkthroughs.
The insurance side runs parallel. If a homeowner modifies a garage door’s structure on their own and the door later fails, damaging the car inside, the insurance adjuster’s first question is who did the work. An unpermitted structural modification can void a claim. A door component replacement performed by a licensed, insured installer with a written record and photo documentation keeps the claim intact. The distinction isn’t theoretical. We’ve documented repairs in Douglasville where the homeowner’s previous DIY attempt created a mounting point that split a header, and the eventual fix cost three times what the original professional repair would have.
The same logic applies to seller’s disclosure. Homeowners routinely fail to disclose a garage door repair because they don’t think of it as a reportable item. The disclosure form asks about structural changes, not routine maintenance, but if a spring replacement left a damaged mounting bracket or a DIY track alignment changed the door’s travel, that’s now a known condition. The buyer’s inspector will find it. The negotiation will happen. The cost of a failed DIY job is never just the parts.
Documentation: What to Record Before, During, and After Any Garage Door Work
This is the section that doesn’t exist on competitor pages. What a homeowner records before, during, and after a garage door repair matters enormously, and not just for insurance. It’s how a follow-up technician knows what they’re working with. A garage door is a system, and a technician who arrives cold without a record of what was already done is troubleshooting from scratch. Here’s the exact record worth keeping.
Before You Begin
- Take three photos. One of the full door from inside, one of the spring and cable area up close, one of the bottom corners and track. These establish baseline condition.
- Note the date and the outdoor temperature. Temperature matters. A door that works fine at 70 degrees may bind at 30. Douglasville winters are mild, but a 25-degree morning changes metal geometry.
- Record the door’s brand and model. The model number is on a sticker on the inside of the door section. Write it down. Amarr, Wayne Dalton, Clopay, and Raynor all have different track profiles, and that detail saves a service call.
- Run the door by hand once. Pull the red release cord and move the door manually. If it’s heavy at any point, write down where. That’s a balance issue, and it’s the single most useful diagnostic note you can hand a technician.
During the Work
- Photograph the component you replaced before removing it. If it’s a roller, photograph the roller. If it’s a seal, photograph the seal. That photo is the evidence of what failed.
- Record the new part’s brand and part number. If you buy a bottom seal at Douglasville’s hardware store, keep the receipt. If the seal fails in six months, the receipt is your warranty.
- Photograph the finished work. After installing a new component, take the same three photos you took at the start. The before-and-after is a record no one can take away from you.
After the Work
- Test the door five times. Open, close, open, close, open. Watch the cable drums on both sides to confirm they’re winding evenly. Listen for any sound that wasn’t there before.
- Store the notes. A manila folder labeled “Garage Door” in the filing cabinet is enough. The homeowner who can produce records is the homeowner who gets a faster, cheaper diagnosis on the next repair.
This documentation protocol is the same one our technicians follow. Clause 1 of The Haven Standard requires a flat written price and written scope before any work starts. The documented photo record we leave with every Douglasville customer is the same evidence trail, just done for you. We built Servo Garage Doors around the idea that a customer should see the failed part before anyone quotes a replacement. That’s Clause 4, and it’s why the photo record is included on every visit, not optional.
Tools: Why a Winding Bar Is Not a Socket Wrench
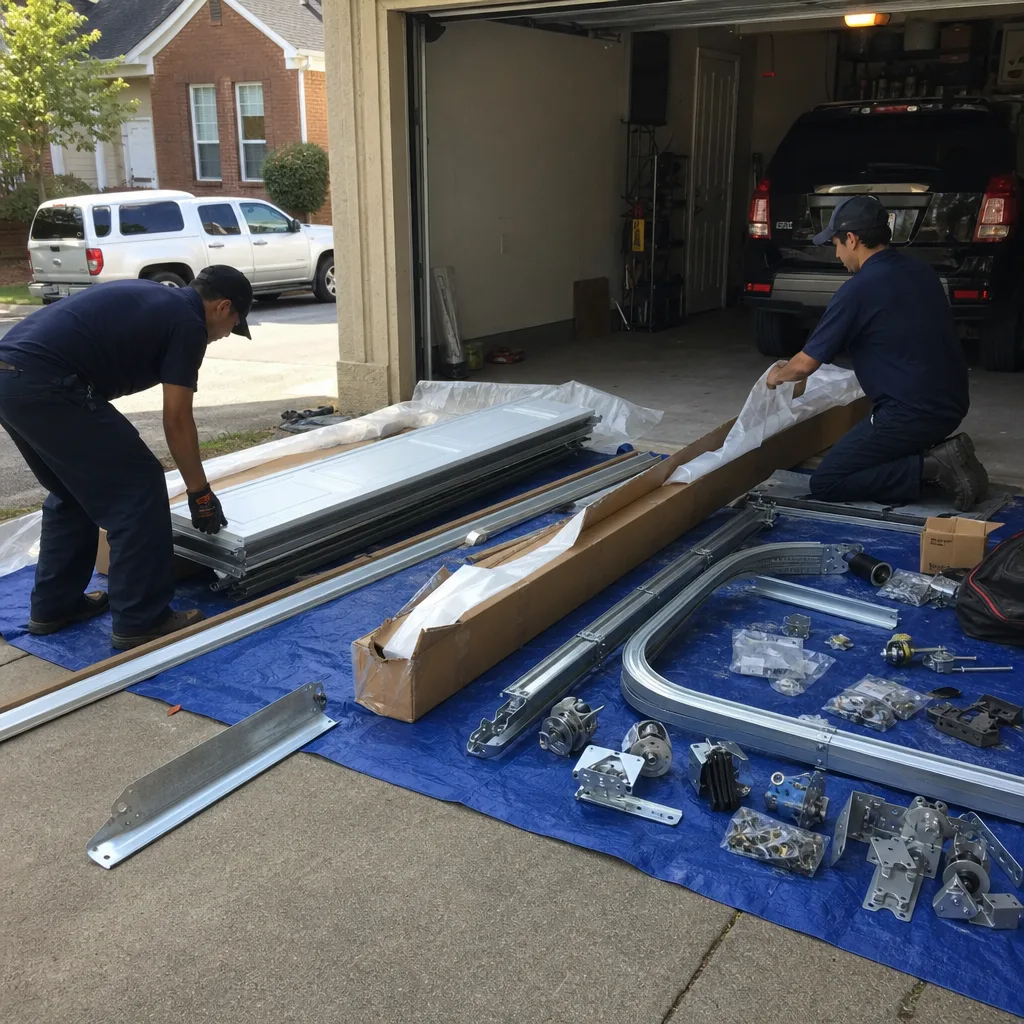
The most dangerous single item in a Douglasville garage right now is probably a set of two steel rods that were never meant to be there: the improvised winding bars someone made from a socket wrench extension or a piece of rebar. This deserves its own section because it’s the mechanism of failure behind most spring injuries, and no homeowner should get within ten feet of a torsion spring without knowing what the correct tool looks like.
A proper winding bar is a solid steel rod, half an inch in diameter, about 18 inches long, with a handle on one end and a squared tip on the other. It slides into one of the four holes on the winding cone. The technician works with two of them, alternating, only ever moving one bar at a time while the other holds the tension. The tool is under spring load for the entire process. The correct bar will flex slightly when you lean on it. That flex is the tool doing its job. The wrong tool, a screwdriver or a long bolt, will snap. When it snaps, the stored energy in the spring has somewhere to go, and that somewhere is usually the hand holding the tool.
We don’t sell winding bars, and we won’t show you how to use them. The spring work isn’t a matter of buying the right tool and following steps. It’s a matter of knowing, down to the quarter-turn, how much energy you’re holding, and knowing what to do when the spring doesn’t behave exactly like the manual says it will. In Douglasville, where springs fail in the early morning cold when they are most brittle, the time to find that out is not at 6 a.m. with the garage door half open.
What we will tell you is this: the cost of a professional spring replacement in Douglasville runs $180 to $340, and the cost of the parts alone is $50 to $120. The difference between those two numbers is the price of not having your hand in the wrong place when the spring decides to release. That’s the cheapest insurance policy in Douglas County.
Common Mistakes to Avoid
- Using the wrong tool as a winding bar. A screwdriver, rebar, or the handle of a socket wrench is not a winding bar. When it snaps or slips, the stored spring energy releases into whatever is holding the tool.
- Running the opener with a broken spring. The opener motor keeps pulling on a door that is now dead weight. The motor burns out in under a minute, and the door can jam crooked in the track, requiring a second repair.
- Ignoring a fraying cable. Douglasville’s red clay dust and humidity accelerate cable rust. A frayed cable that breaks under tension drops the door and can damage the car in the driveway or the person standing nearby.
- Lubricating the track. The rollers roll inside the track; they don’t slide on it. Grease on the track just collects dust and creates a paste that makes the door work harder.
- Installing an opener without checking the door’s balance. A new opener on a door that’s already out of balance will fail early, and the homeowner will blame the opener instead of the 10-year-old spring that hasn’t been adjusted since the day it was installed.
- Adjusting the force setting too aggressively. One too many quarter-turns and the door closes on a person, a pet, or a car bumper. The force setting exists to prevent that. It’s not a dial to crank.
- Doing structural work without checking the permit requirements. In Douglas County, changing the door opening’s size or header requires a permit. Skipping it creates a future problem at resale and a present problem if an insurance claim ever comes up.
When to Call a Professional
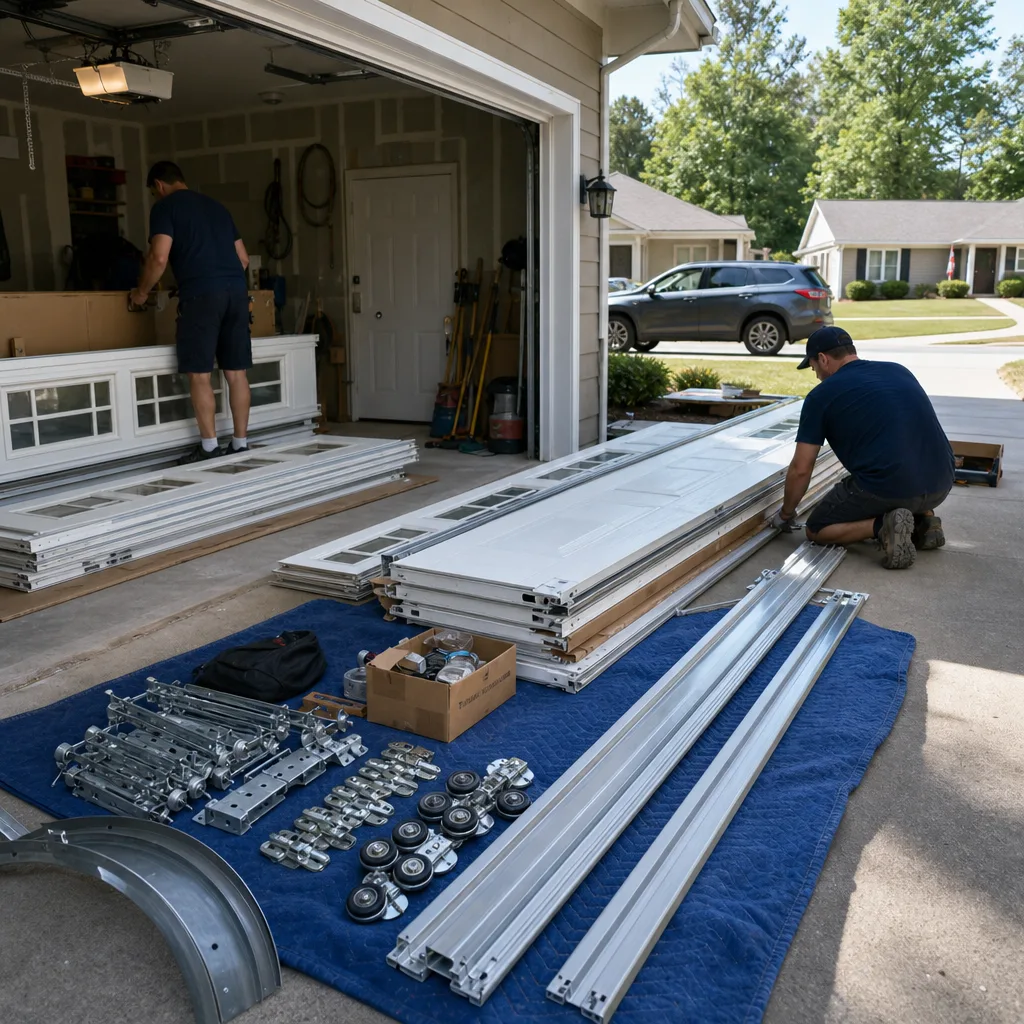
Call a professional when the component you’re looking at is under spring tension or carries the door’s weight. That means torsion springs, extension springs, cables, drums, track brackets, and full-door replacements. It also means any time the door won’t move by hand easily and smoothly, because a door that’s hard to move is telling you something is wrong, and forcing it is how small problems become multi-hundred-dollar repairs.
Call a professional when the job involves an opener’s electrical connection and you can’t see the circuit breaker that controls the outlet. Call a professional when you can’t identify the part in front of you. Call a professional when the door is stuck open and the car is inside, because that’s a security problem as well as a mechanical one. Servo Garage Doors Douglasville offers free estimates in Douglasville, and Servo Garage Doors Douglasville home is the starting point for any question. Call (470) 243-8314 and a live person answers, day or night.
Frequently Asked Questions
Torsion spring replacement in Douglasville typically costs $180 to $340, with the spring itself running $50 to $120 of that total. The price depends on the spring’s wire diameter, length, and whether the job includes lubricating and balancing the full door. Call (470) 243-8314 for an exact written quote; the price is agreed before any work starts.
Yes, bottom seal replacement is the single most DIY-friendly garage door task. Pull the old rubber seal out from one end, slide the new one into the T-channel groove, and cut it to length. Measure the groove width first; it’s usually 1/4 inch or 5/16 inch. The whole job costs under $50 and takes less than an hour.
It depends on what was done and what failed. A routine component replacement like a bottom seal or roller won’t affect a claim. A structural modification performed without a Douglas County permit, such as changing the door opening or header, can void a claim if the door later fails. This is one reason to keep records of what you did, when you did it, and what parts you used.
In Douglasville, a standard torsion spring lasts 8 to 12 years, compared with 12 to 15 years in drier climates. Georgia humidity and hot-cold cycles fatigue the steel. The spring’s lifespan is measured in cycles, not years, and a 10,000-cycle spring is typically what a professional installs. Ask about spring cycle rating when you replace.
In most cases, yes. We stock springs, cables, rollers, openers, and track components on the service trucks so a spring replacement or cable repair can be completed in one visit. Call (470) 243-8314 and a live person answers, 24 hours a day, including weekends and holidays. The written quote is delivered before any work begins.
Disconnect the opener by pulling the red release cord, then move the door by hand. A balanced door moves smoothly with little effort and stays in place when you let go at the halfway point. A door that drops, flies up, or feels heavy on one side is out of balance and needs adjustment. That check takes 30 seconds and prevents a spring from wearing out early.
The Bottom Line
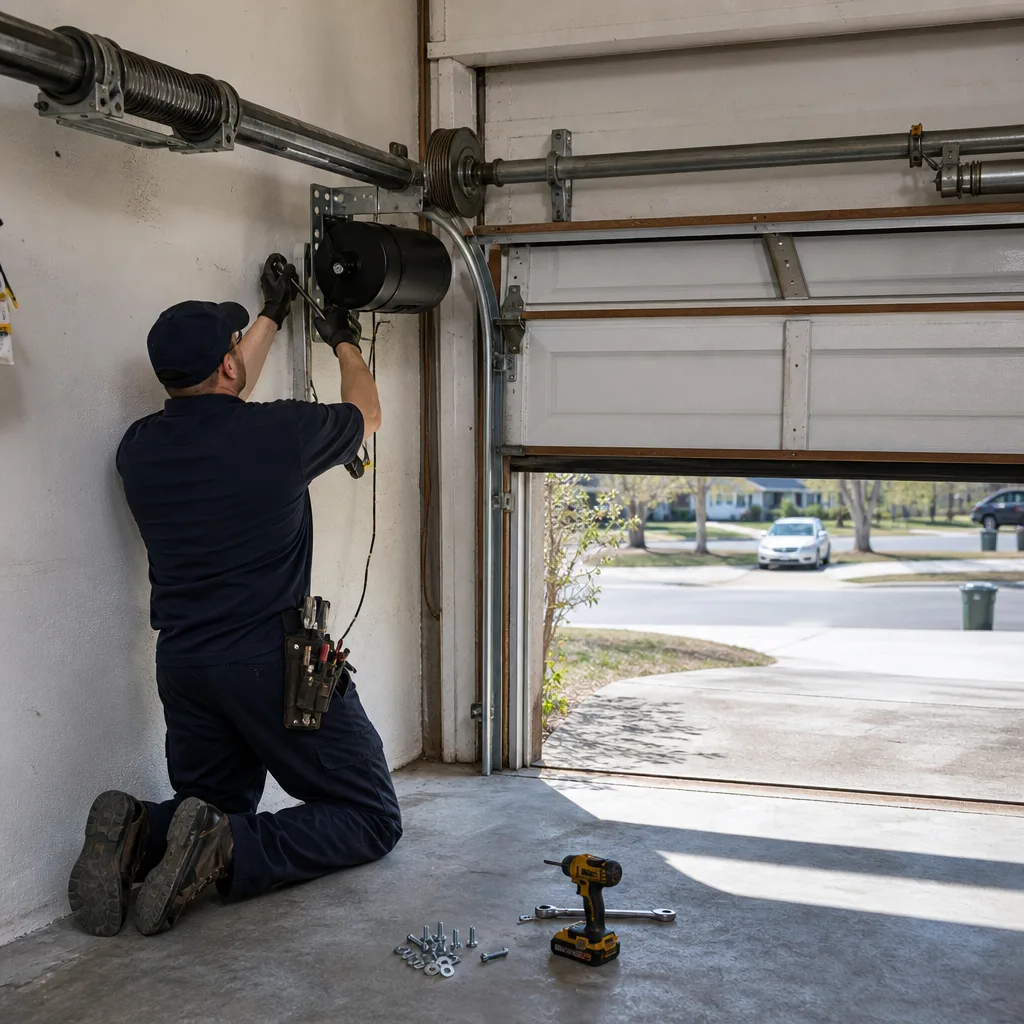
The garage door in your Douglasville home is not one job. It’s a system of components, each with its own risk level. Bottom seals, sensors, batteries, and lubrication are yours to handle with basic tools and an afternoon. Rollers, openers, and limit switches sit in the middle and depend on your confidence and your willingness to document carefully. Springs, cables, drums, and structural work belong to someone who carries the right tools, the right parts, and a written price before the first bolt is touched. The money you save on a DIY spring replacement is not worth the risk, and the money you save on a DIY opener install evaporates the first time the door binds and you can’t find the cause. Know the line, respect the line, and when you’re on the wrong side of it, call someone who can show you the failed part before quoting the fix. For more guides & resources on keeping your garage door safe and functional, explore our blog.
Written by Marcus Deller, Owner at Servo Garage Doors Douglasville, serving Douglasville since 2015.